
 Sign In
 Create Account
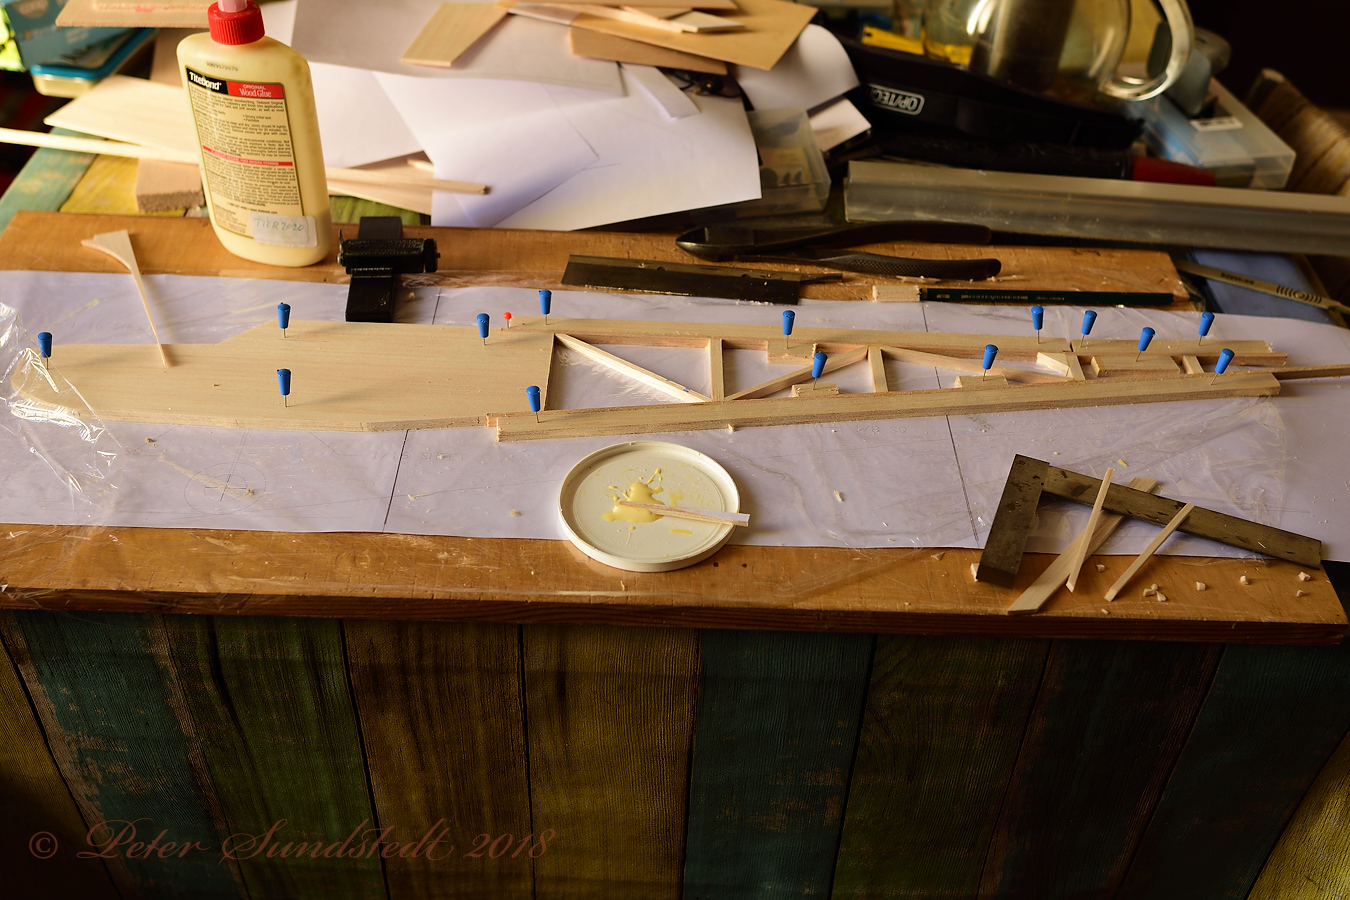
I am building a parkflyer-sized Telemaster. It is reduced in size from the original's 99" wingspan to only 36 1/2".
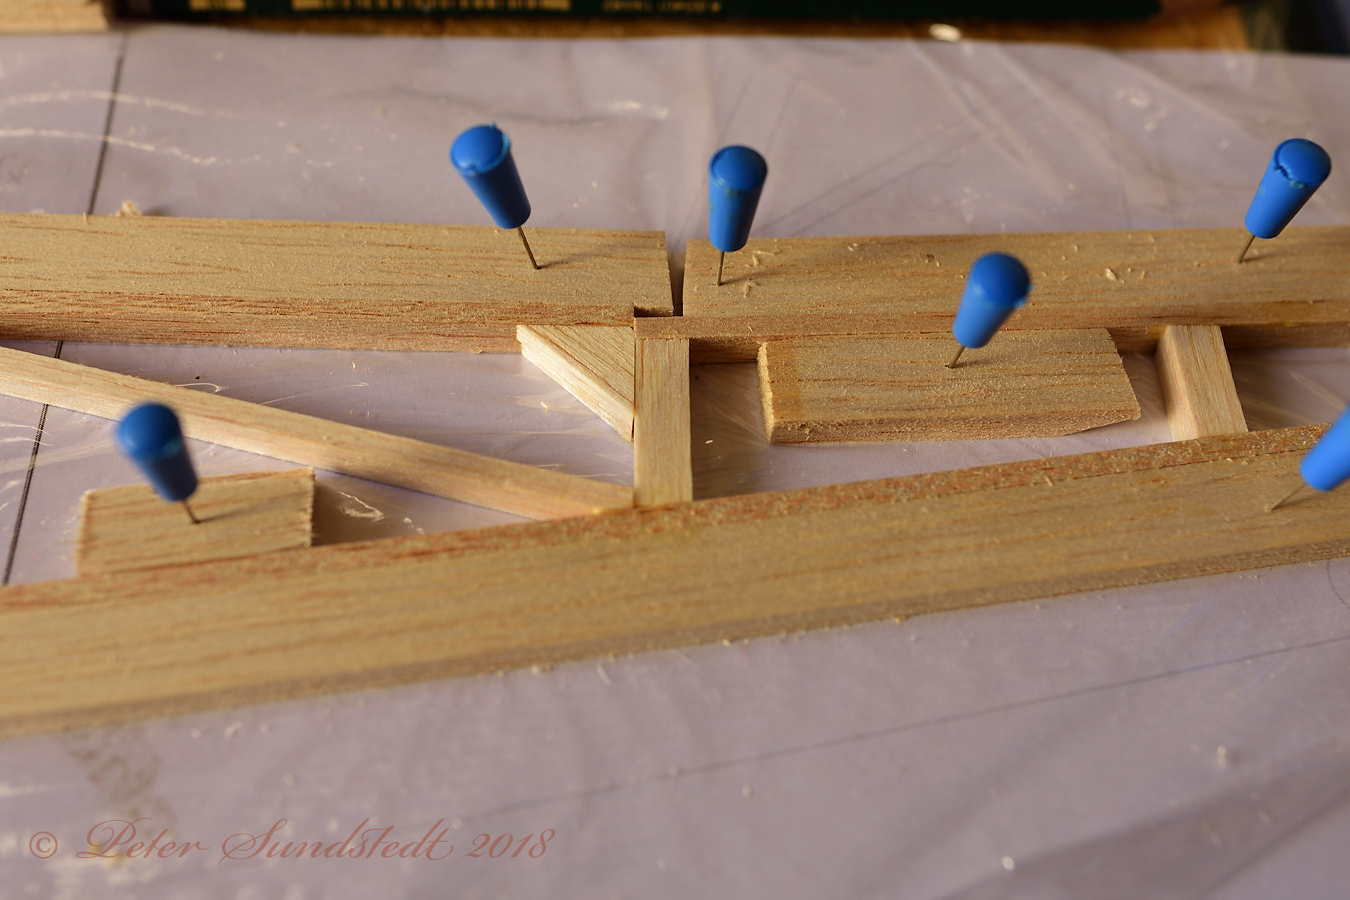
Framing up the wings.
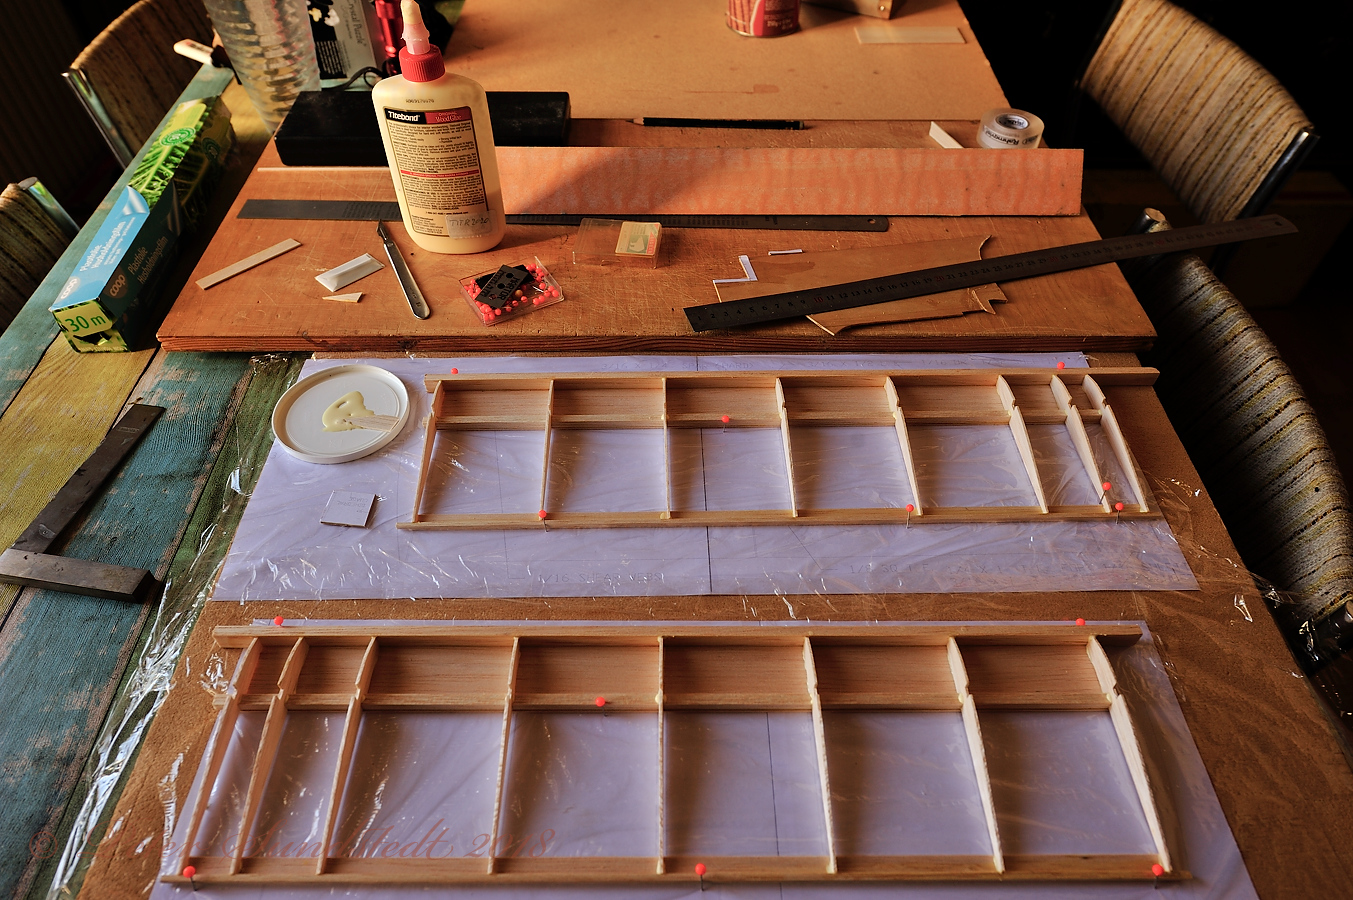 PES_2018-07-27_16-02-17_24mm_ by merco_61, on Flickr
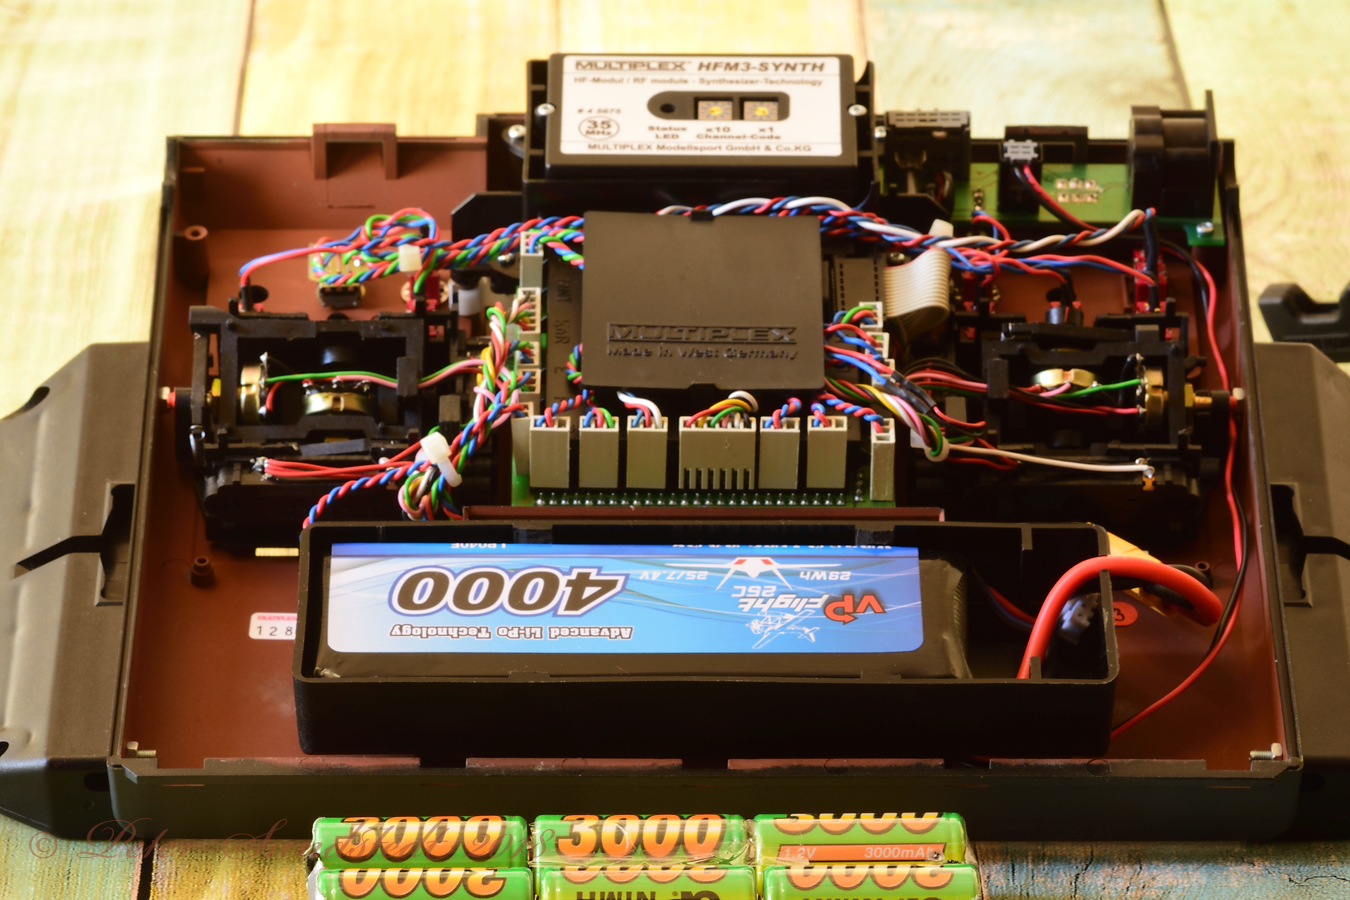
When returning to a hobby after many years, some upgrades and service work is to be expected.
The battery tray is modified to mount the new battery securely. The old cells are in front of the transmitter on the table.
 PES_2018-08-03_11-21-24_105mm_ by merco_61, on Flickr
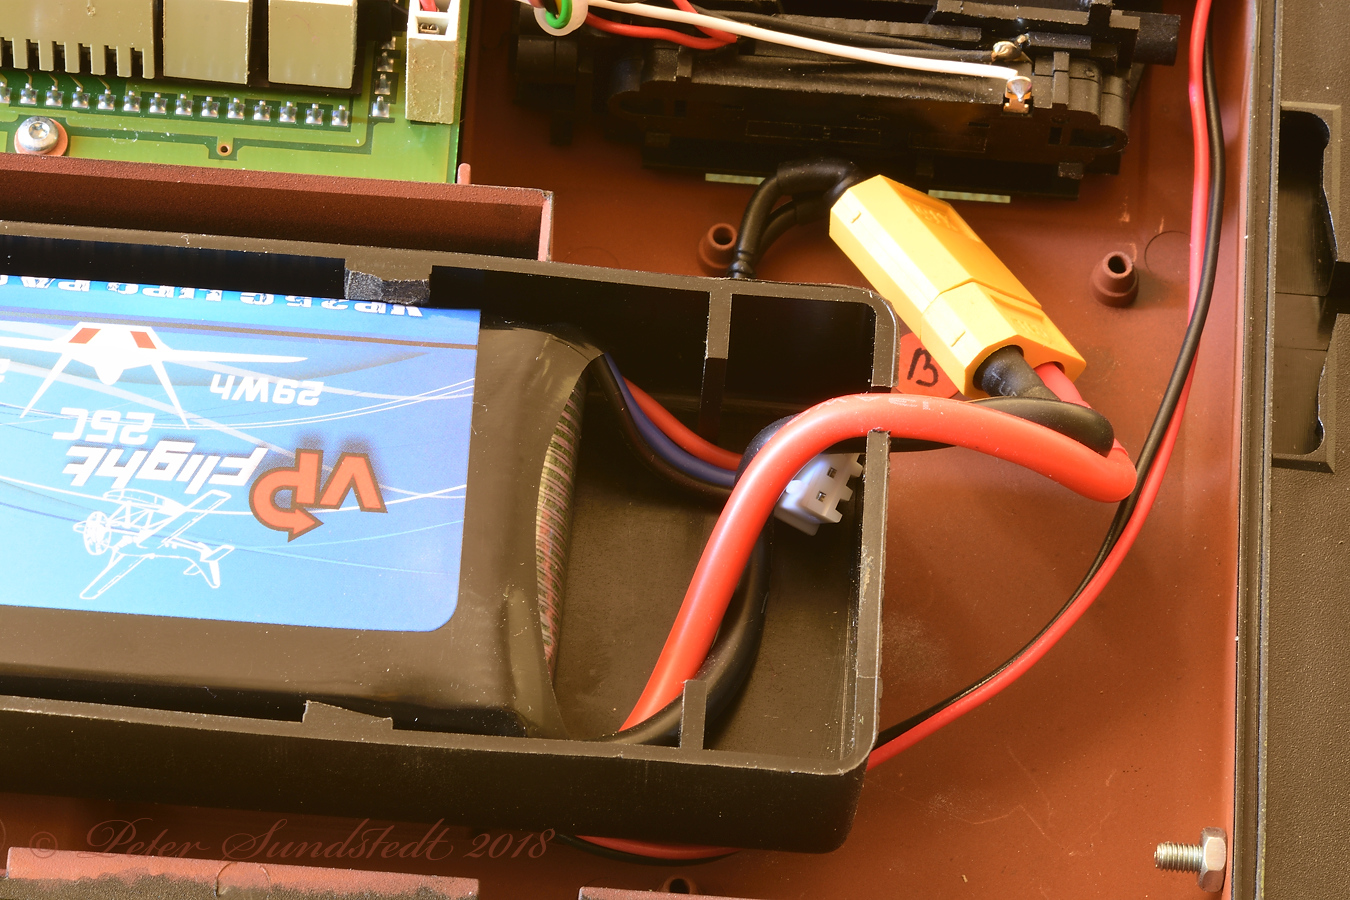
The power wiring is redone to make it easier to disconnect the battery and charge it outside the transmitter. The yellow connector was added to be able to use a standard 2-cell flight pack.
 PES_2018-08-03_11-22-22_105mm_ by merco_61, on Flickr
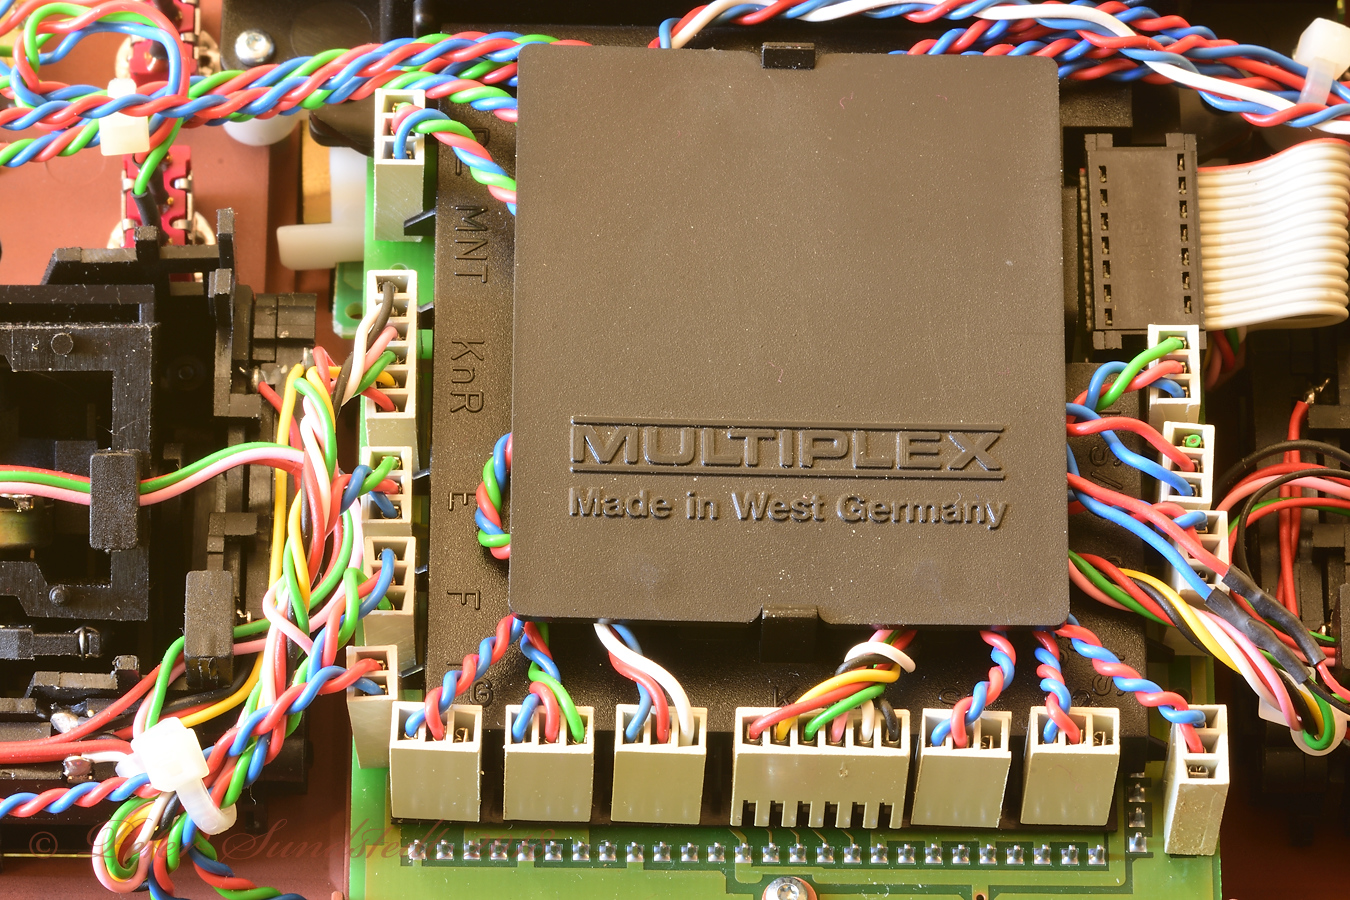
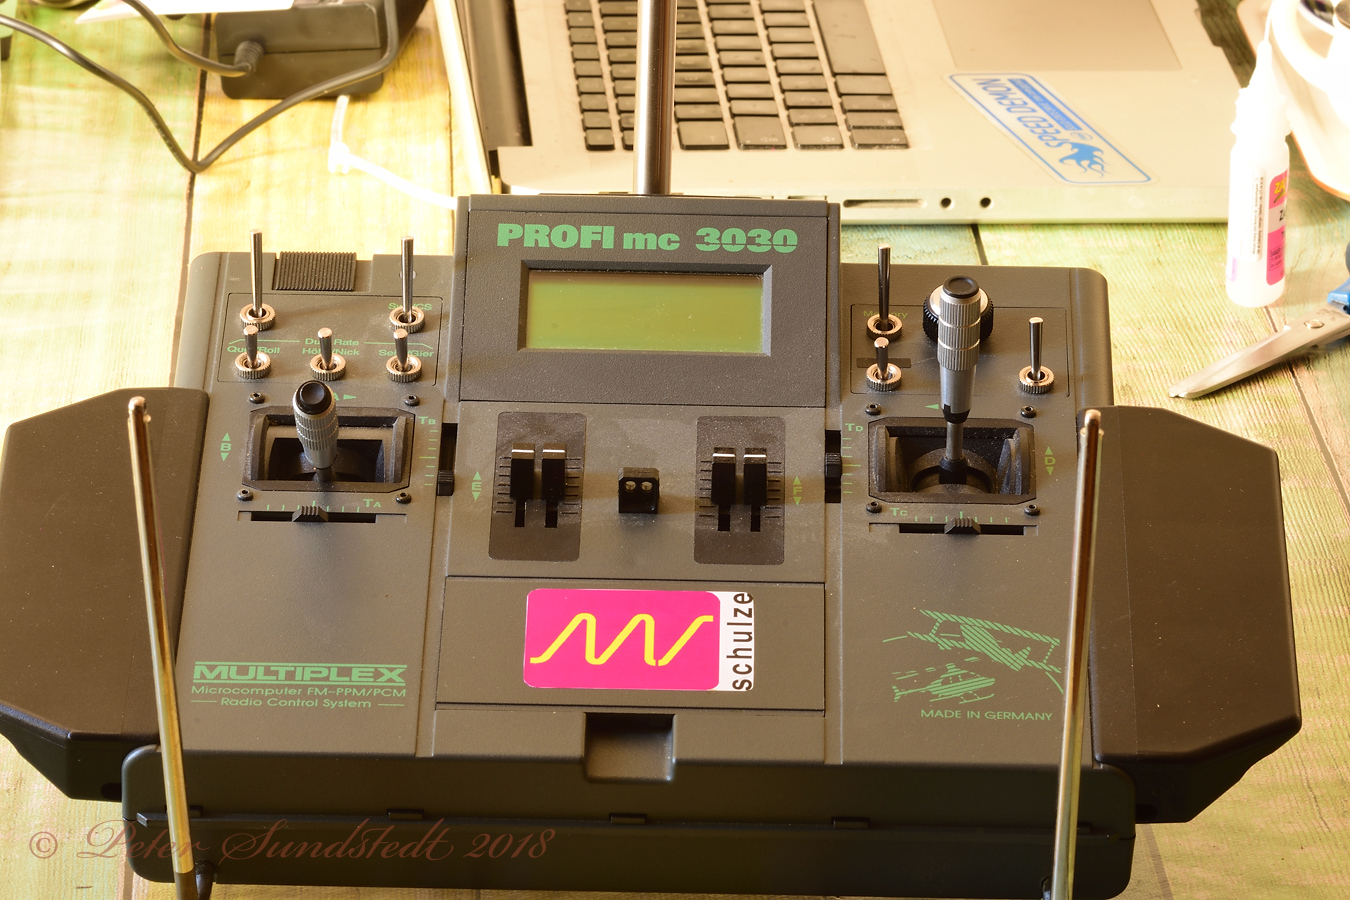
I have added some switches over the years. As I had the transmitter open for he power mods, I cleaned up the wiring mess caused by temporary changes becoming permanent. The thin wires were most of them under the lid here, but some were just taped on top of the plate.
 PES_2018-08-03_11-23-33_105mm_ by merco_61, on Flickr
Here is a shot of the transmitter as it looks when in use. I use long sticks held between thumb and index fingers rather than just the thumb to steer.
 PES_2018-08-03_11-26-25_105mm_ by merco_61, on Flickr
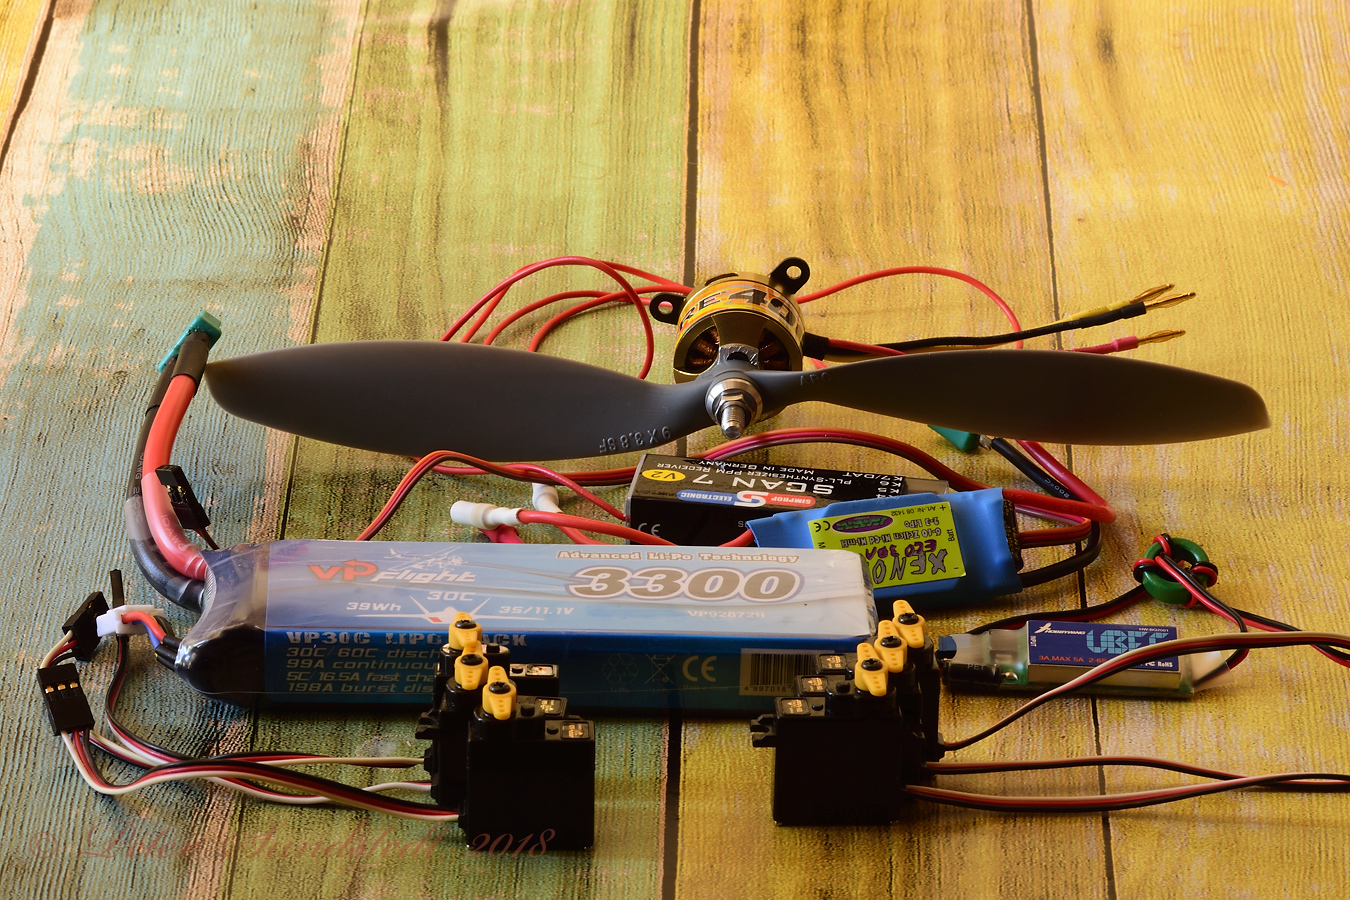
There is a lot of electronics to go into such a small plane. 6 servos, a speed controller, a 7-channel receiver, a switching battery elimination circuit as the 6 servos pull too much current for the circuits in the speed controller, a battery and a motor.
 PES_2018-08-03_11-33-36_105mm_ by merco_61, on Flickr
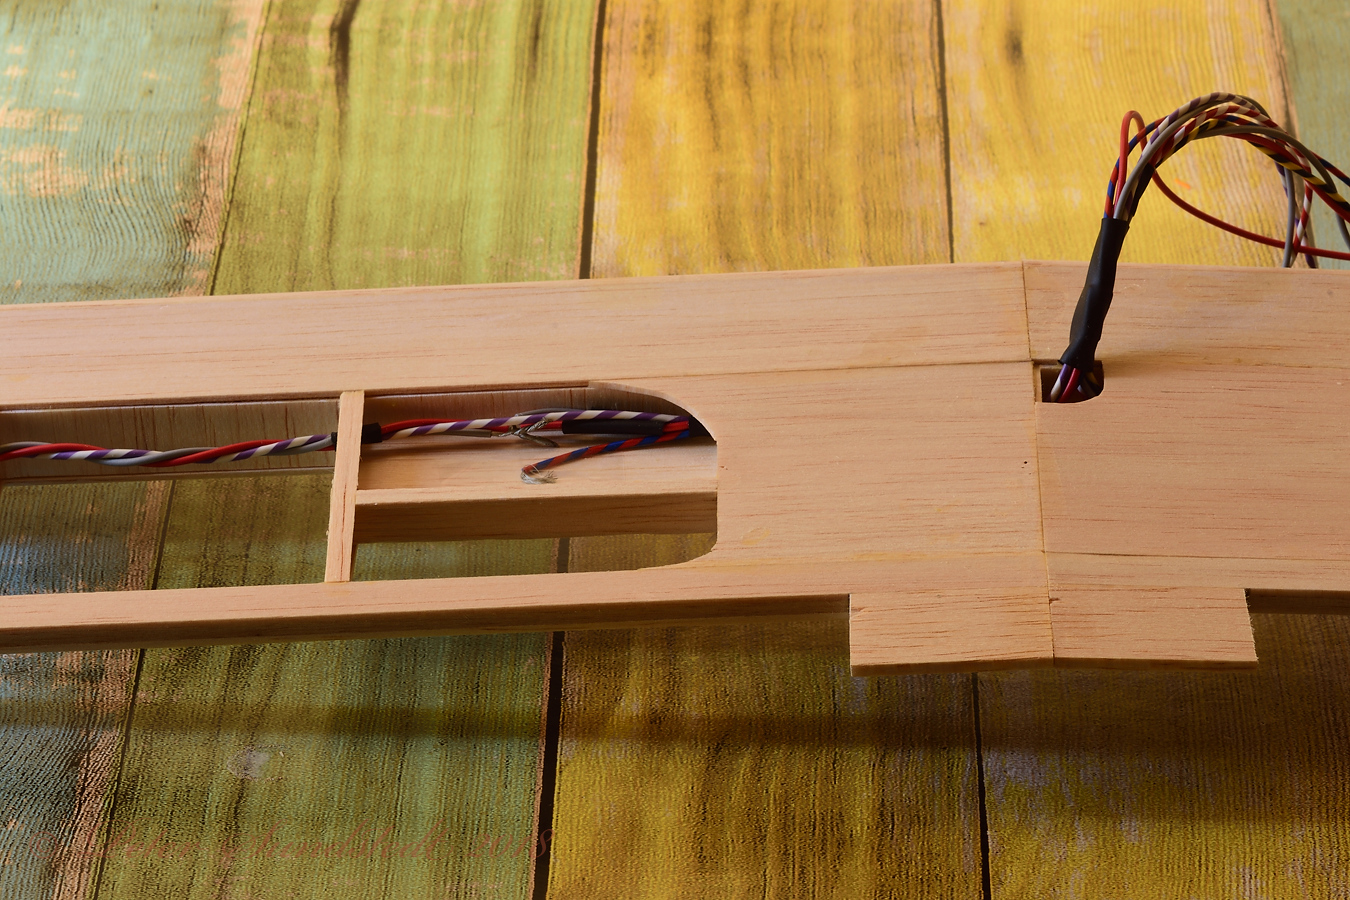
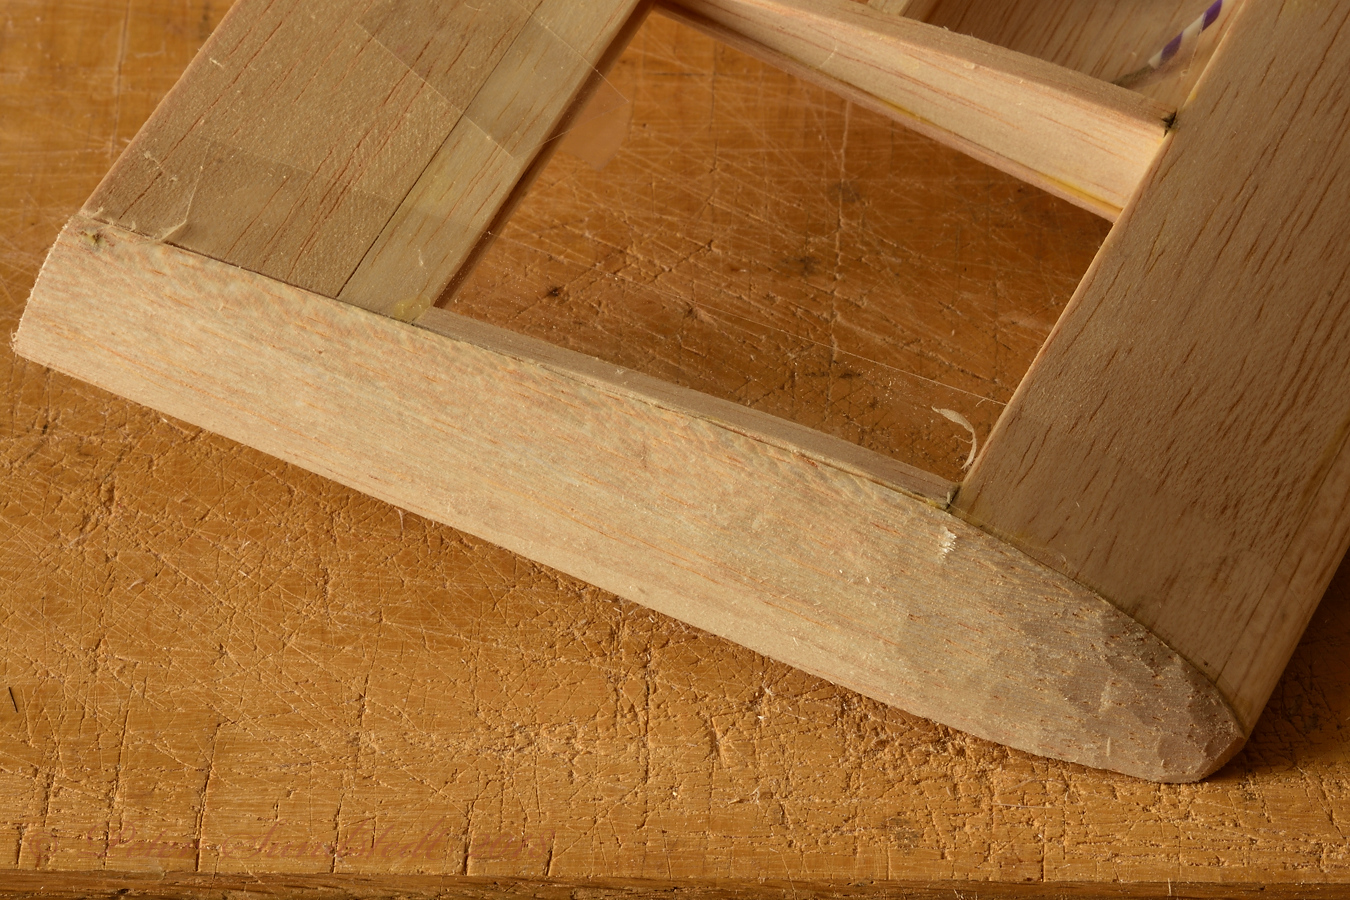
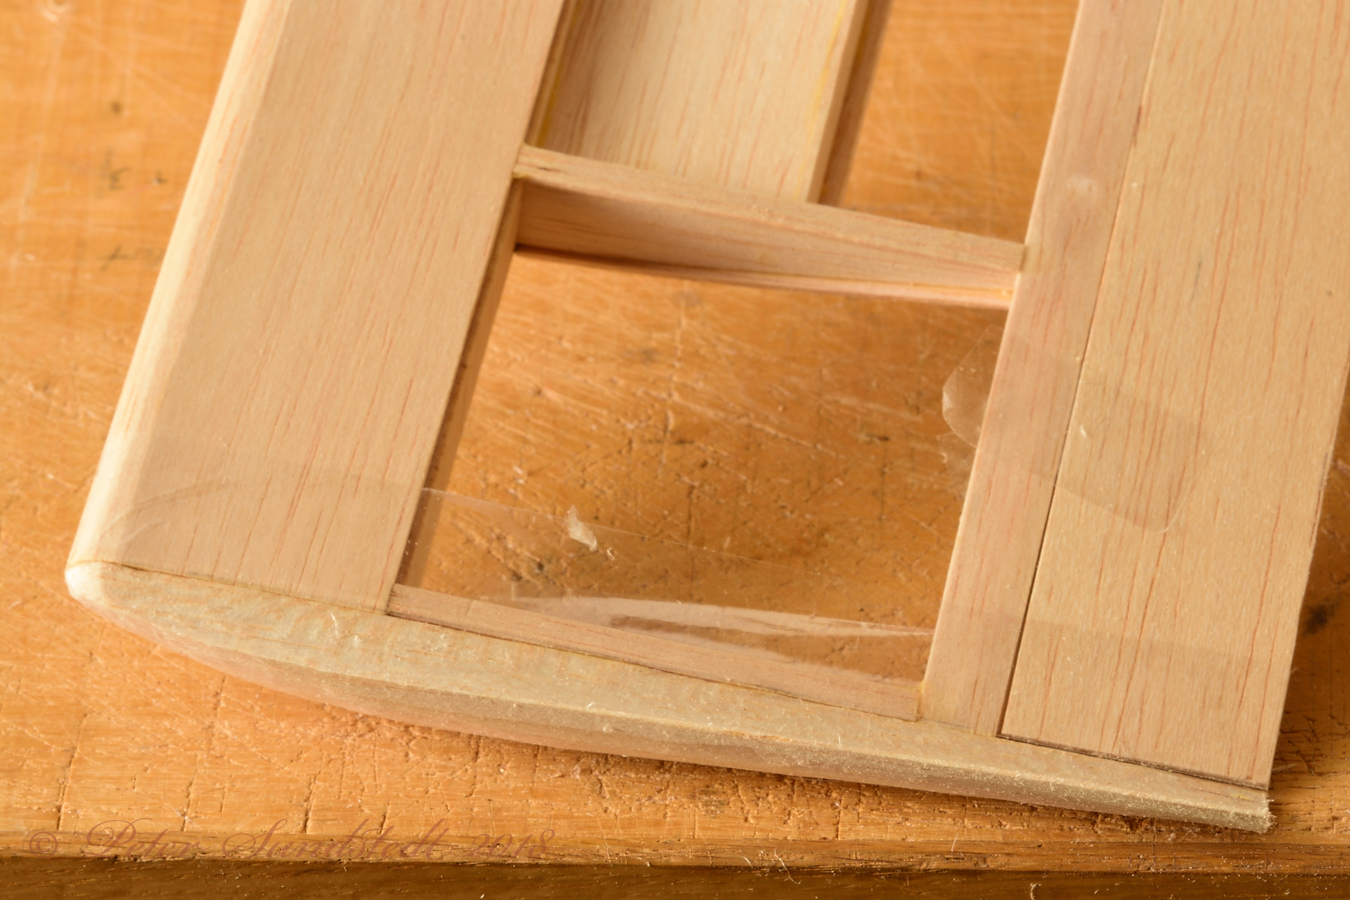
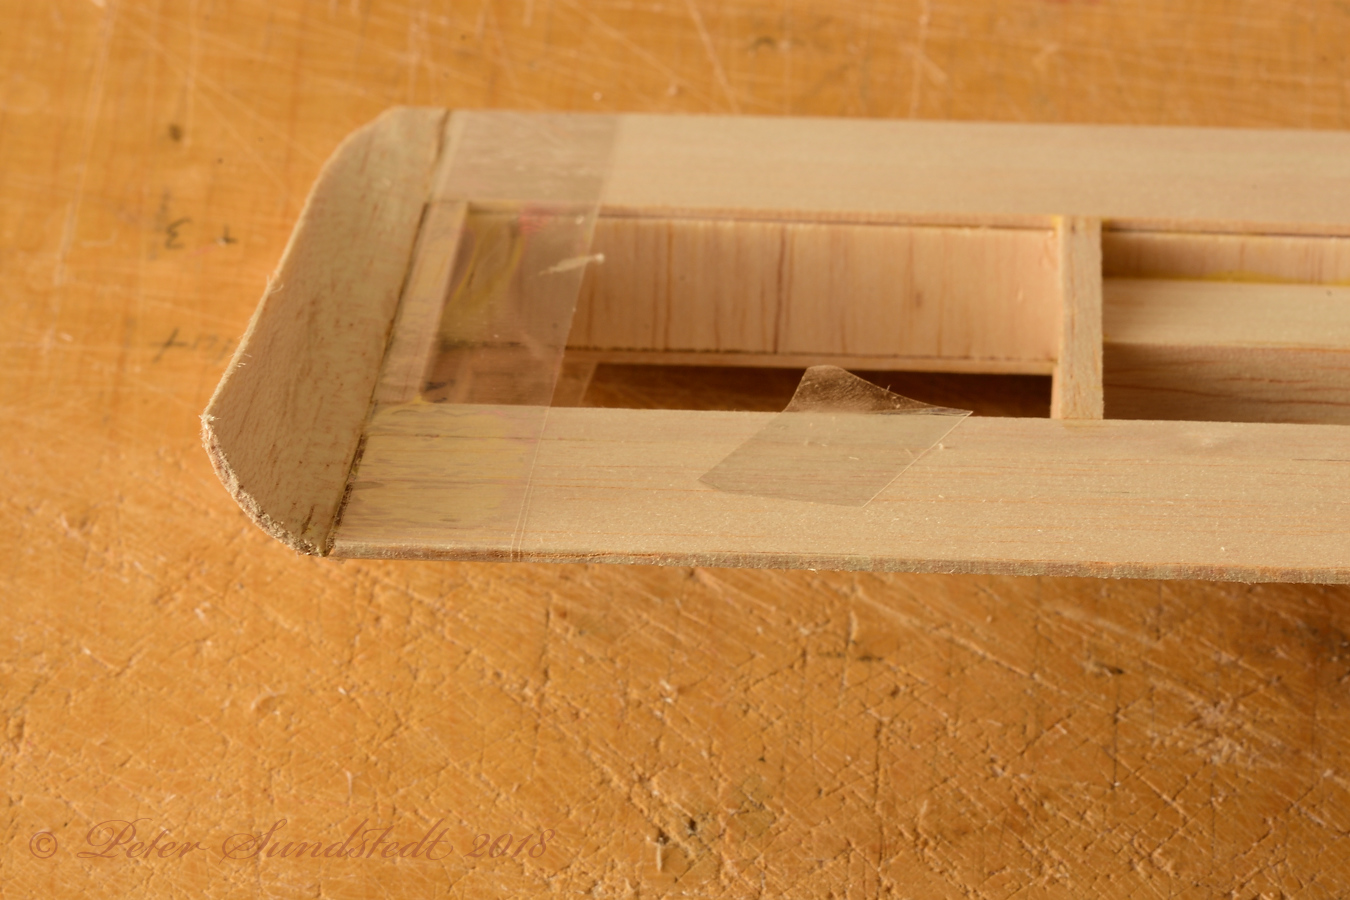
The wing is nearly finished. The servos need a bit of wiring as there are 4 of them in the wing.
 PES_2018-08-03_11-34-39_105mm_ by merco_61, on Flickr
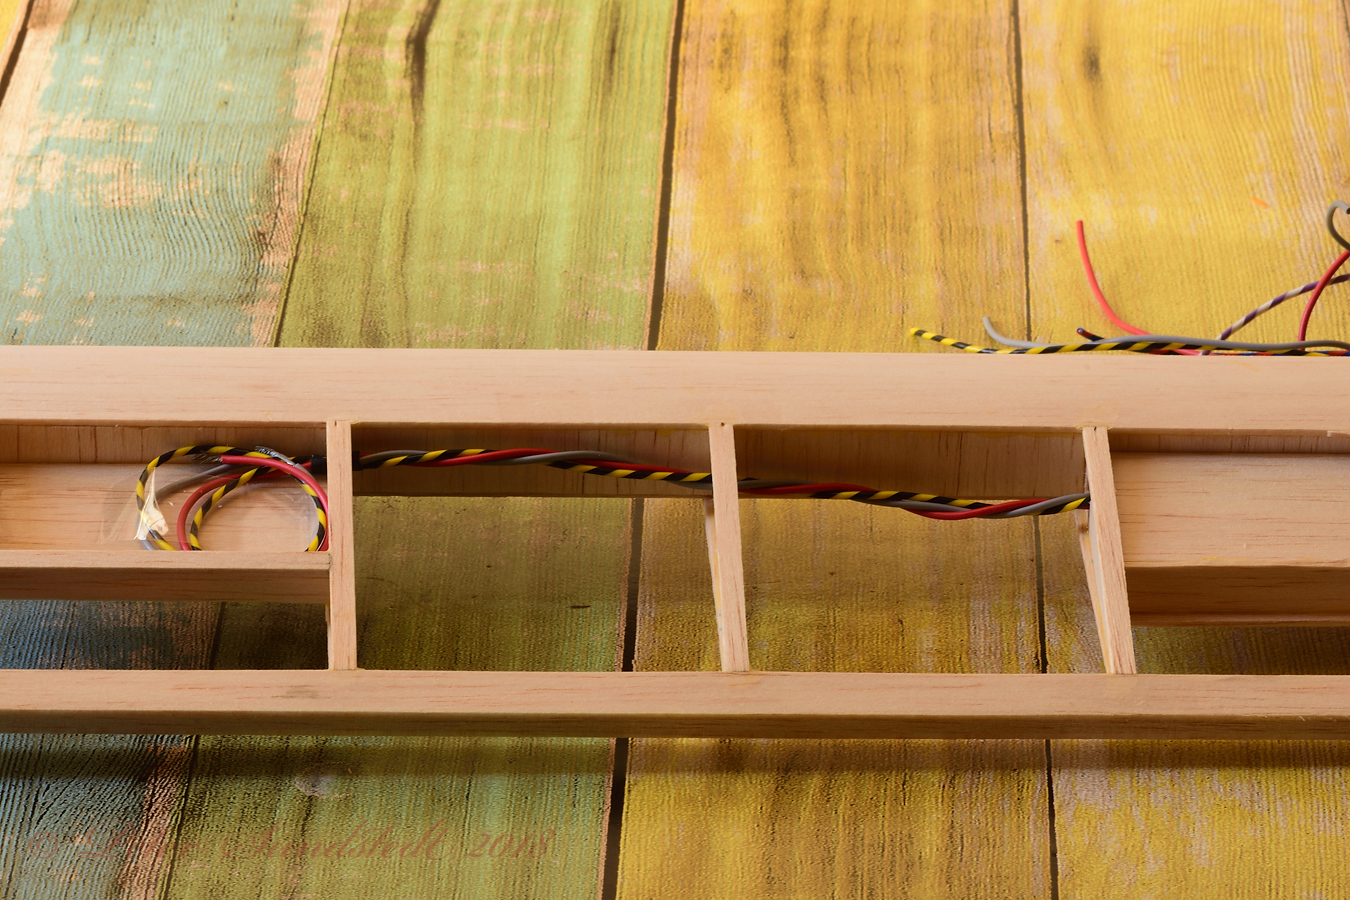
Striped wires for signal, solid for current.
 PES_2018-08-03_11-35-23_105mm_ by merco_61, on Flickr
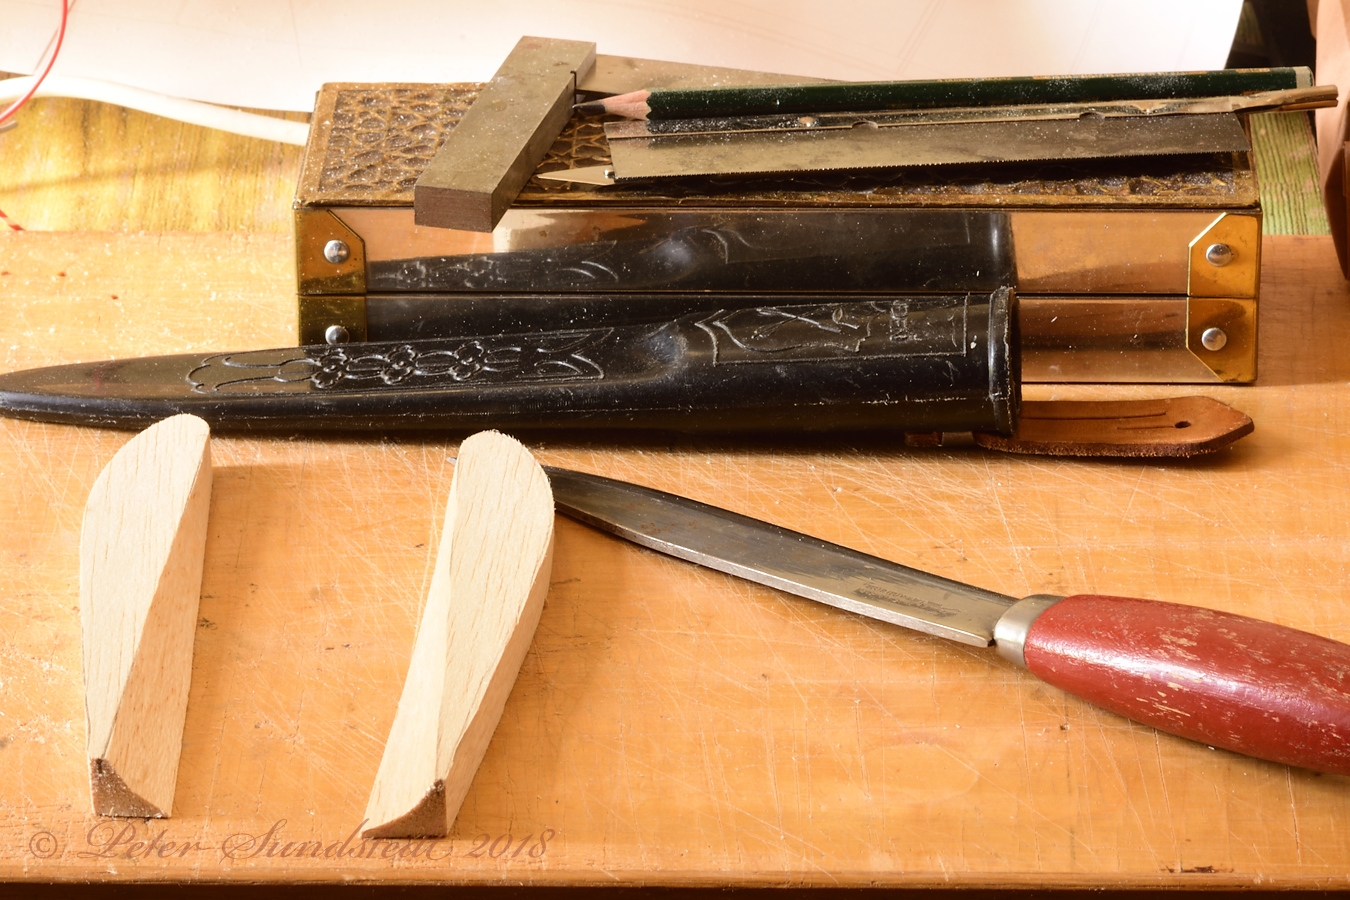
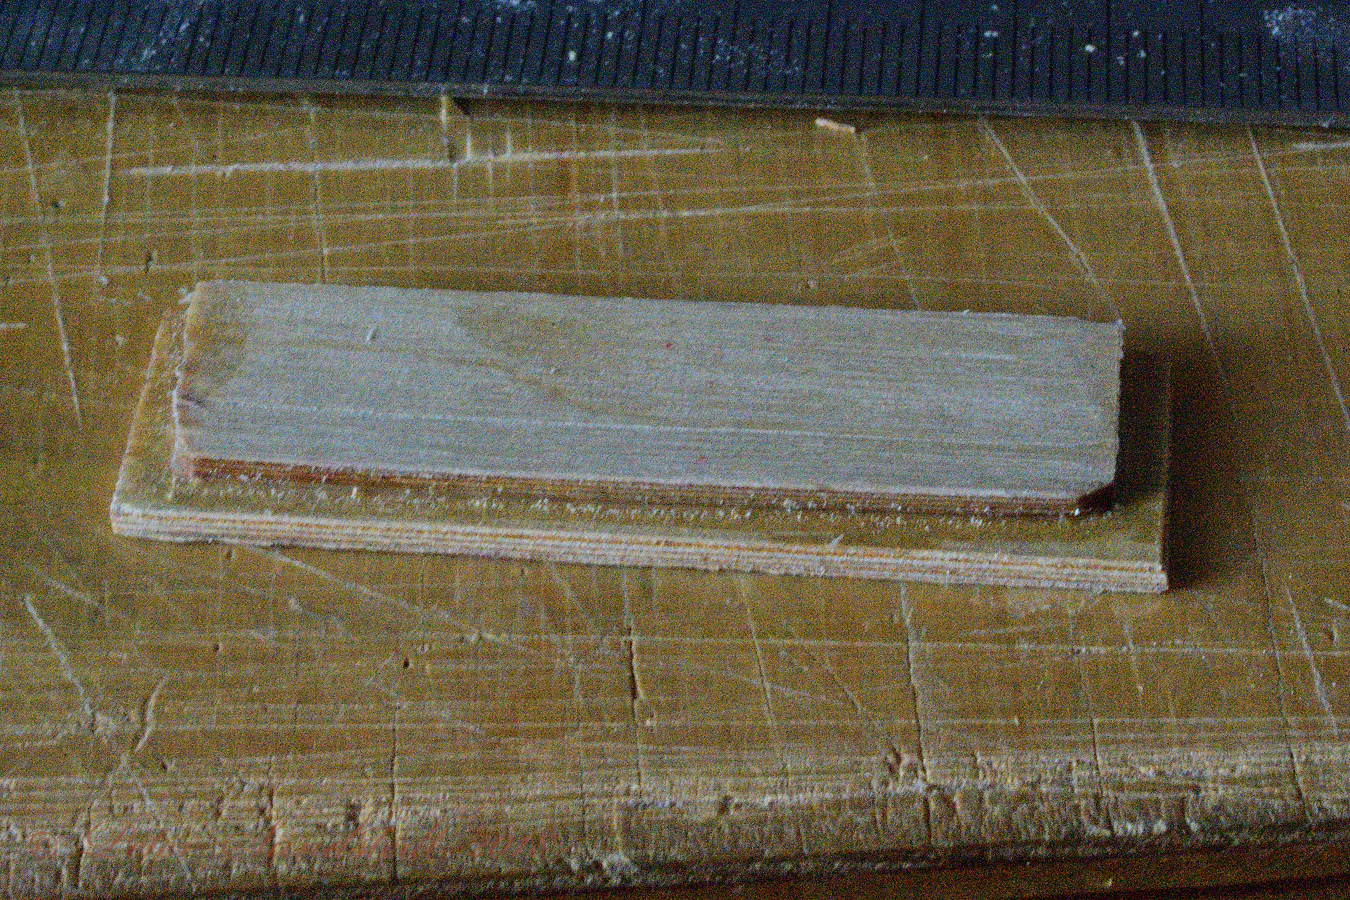
Hoerner tips of the droopy kind are being carved from balsa block.
 PES_2018-08-03_14-54-29_105mm_ by merco_61, on Flickr
The tips are glued on and shaped. I have only used a knife so far, no files or sandpaper.
 PES_2018-08-04_14-33-26_105mm_ by merco_61, on Flickr
 PES_2018-08-04_14-35-03_105mm_ by merco_61, on Flickr
 PES_2018-08-04_14-37-00_105mm_ by merco_61, on Flickr
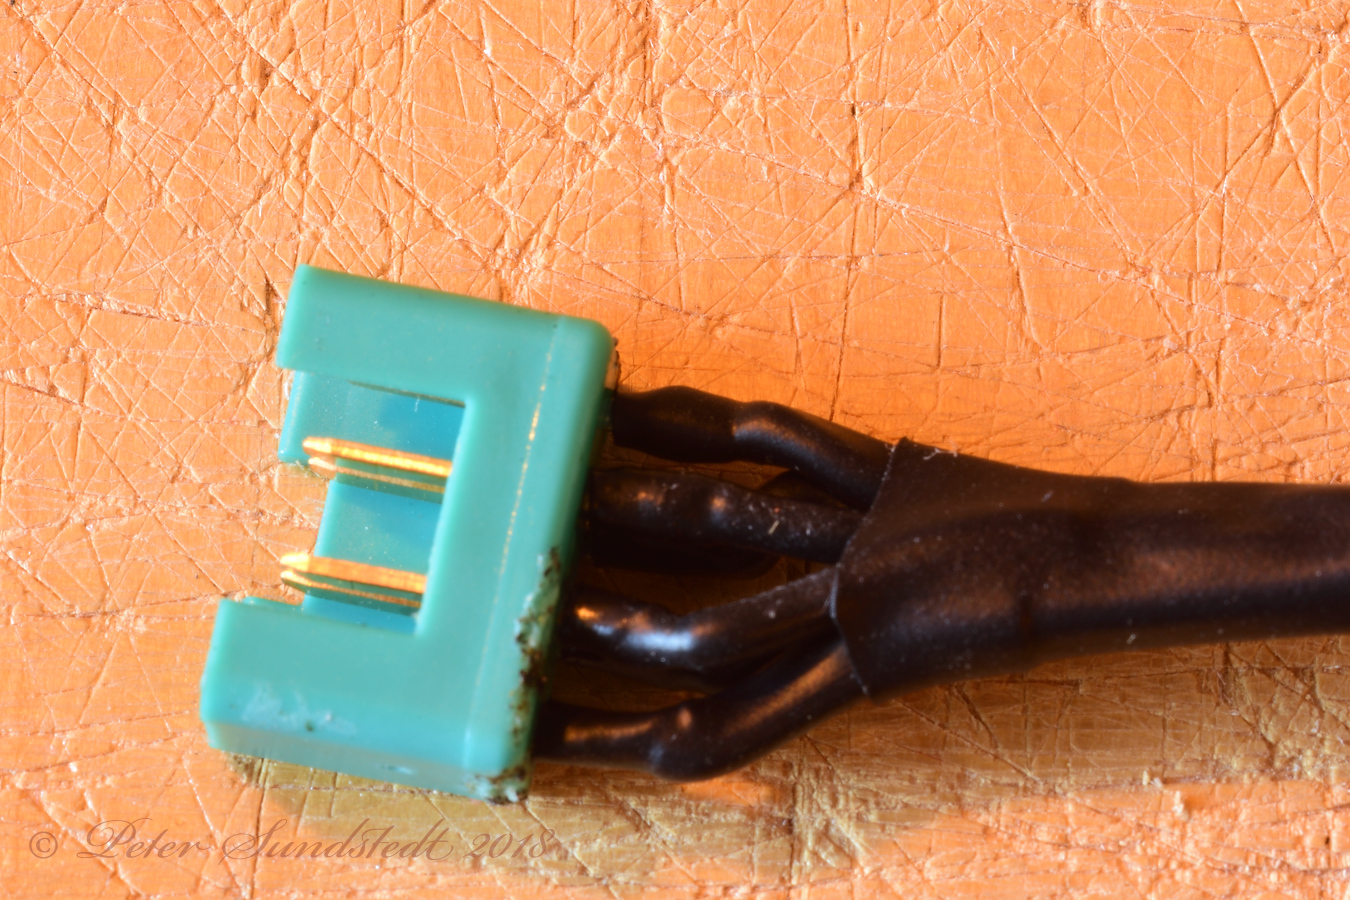
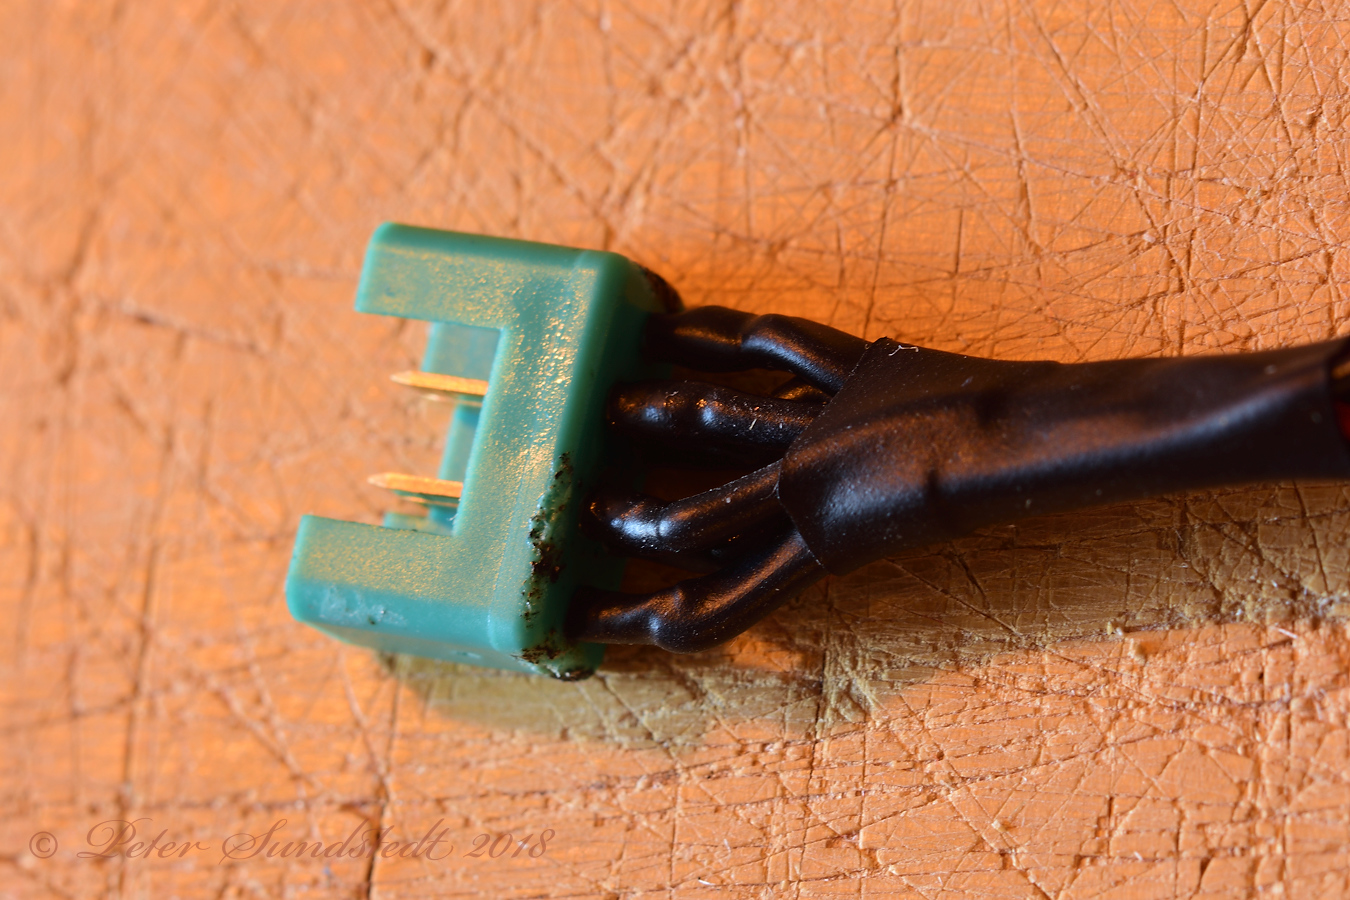
Some fiddly work with a soldering iron today... The contact block is 15.9X6.9 mm and there are 6 pins and 8 cables. This is for the connection to the wing servos.
 PES_2018-08-05_19-30-38_105mm_ by merco_61, on Flickr
 PES_2018-08-05_19-34-25_105mm_ by merco_61, on Flickr
The rest of the day was spent in redesigning the fuselage to fit a modern motor and battery and designing a mount for the landing gear.
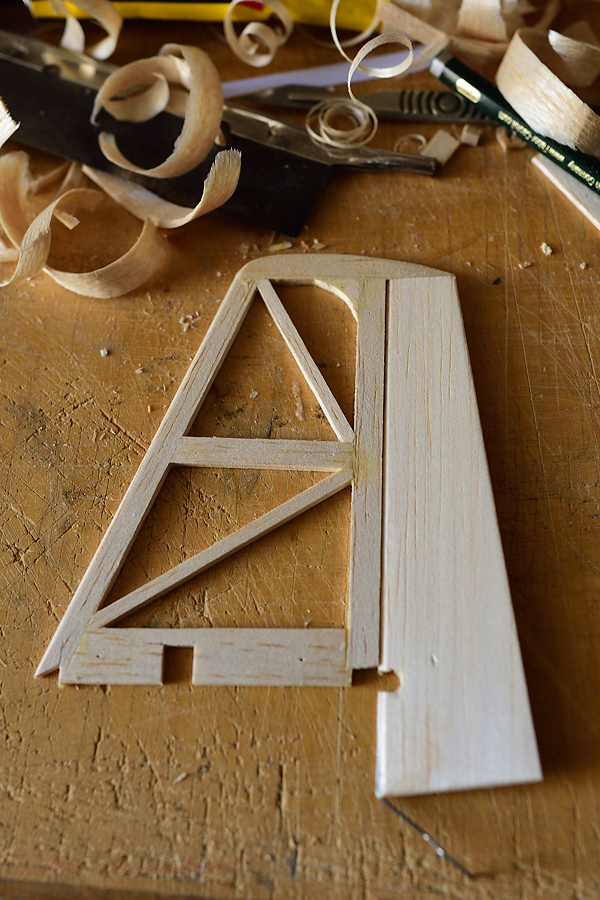
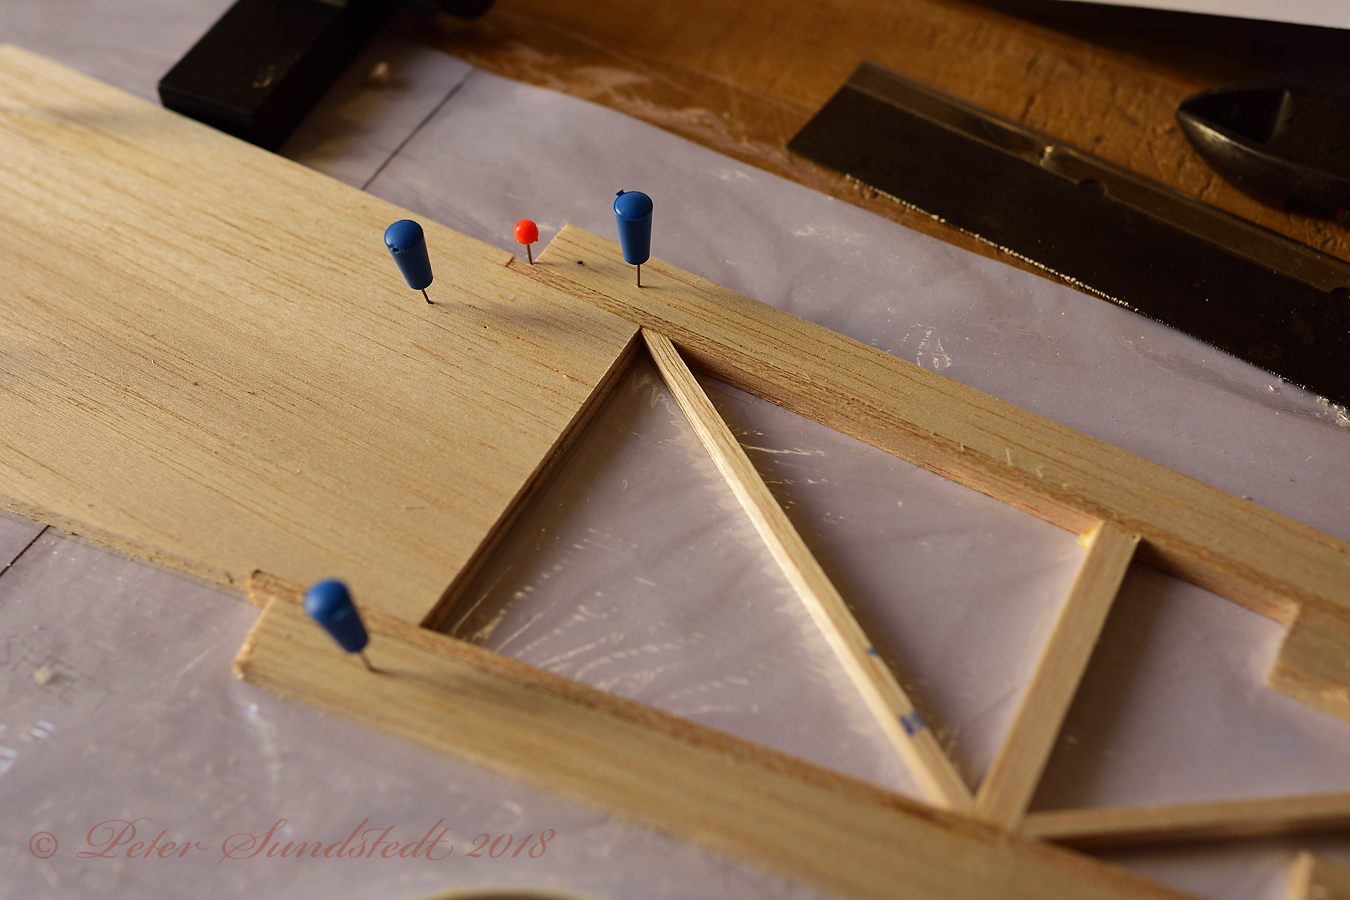
Stabilizer today.
 PES_2018-08-06_17-21-33_24mm_ by merco_61, on Flickr
The beginnings of a fuselage.
 PES_2018-08-07_15-18-20_24mm_ by merco_61, on Flickr
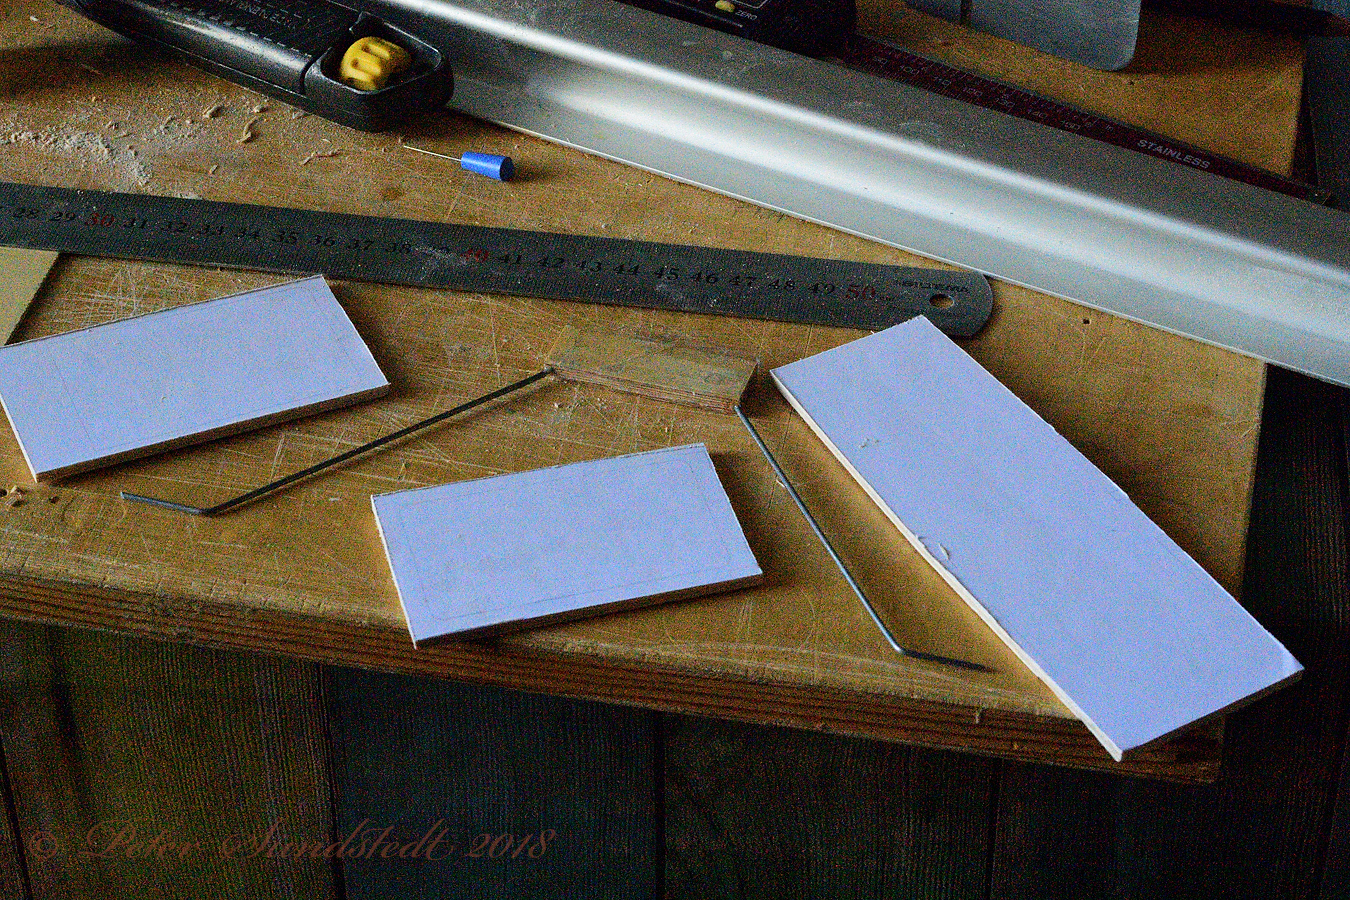
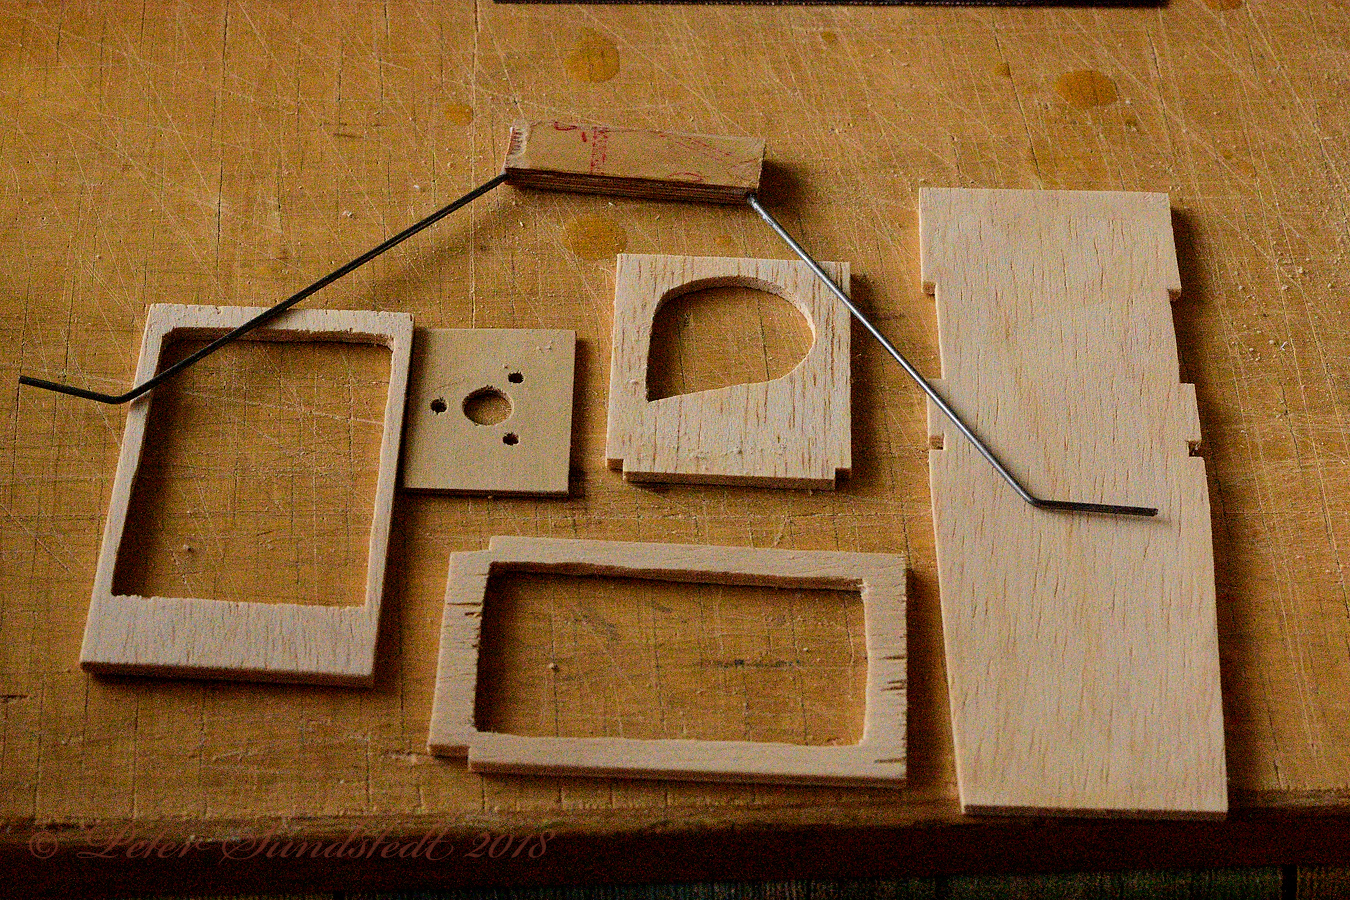
Fin.
 PES_2018-08-07_15-19-14_24mm_ by merco_61, on Flickr
Stabilizer tips.
 PES_2018-08-07_15-19-35_24mm_ by merco_61, on Flickr
Fuselage sides are usually made on top of each other, so they are as perfect mirrors of each other as possible.
 PES_2018-08-08_13-51-24_24mm_ by merco_61, on Flickr
I use lots of pieces of scrap wood to avoid sticking pins through longerons.
 PES_2018-08-08_13-51-43_24mm_ by merco_61, on Flickr
The longerons get lots of glue area where they attach to the sheet front of the fuselage.
 PES_2018-08-08_13-51-57_24mm_ by merco_61, on Flickr
The landing gear mount is starting to take shape. It is made from 3 birch plywood parts, 2 of them are glued together here.
 PES_2018-08-11_17-32-21_55mm_ by merco_61, on Flickr
The finished gear mount and the landing gear itself.
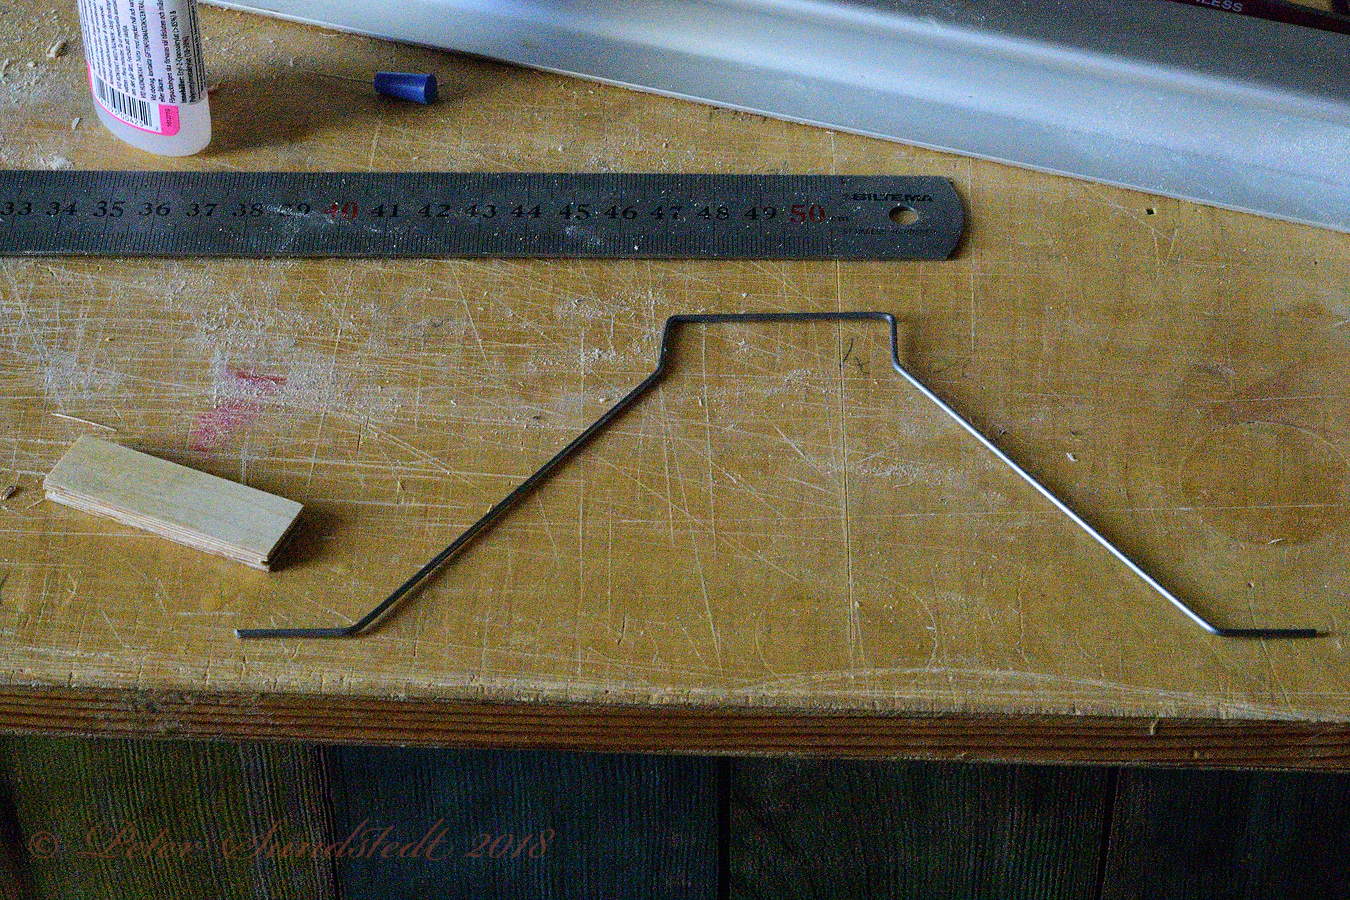 PES_2018-08-11_17-36-52_55mm_ by merco_61, on Flickr
The landing gear is now epoxied in the mount. The frames have their outside dimensions, time to use the drill press and fretsaw to remove as much as possible without weakening the structure.
 PES_2018-08-11_17-48-04_55mm_ by merco_61, on Flickr
The finished frames, time to start building the fuselage.
 PES_2018-08-12_15-14-47_55mm_ by merco_61, on Flickr
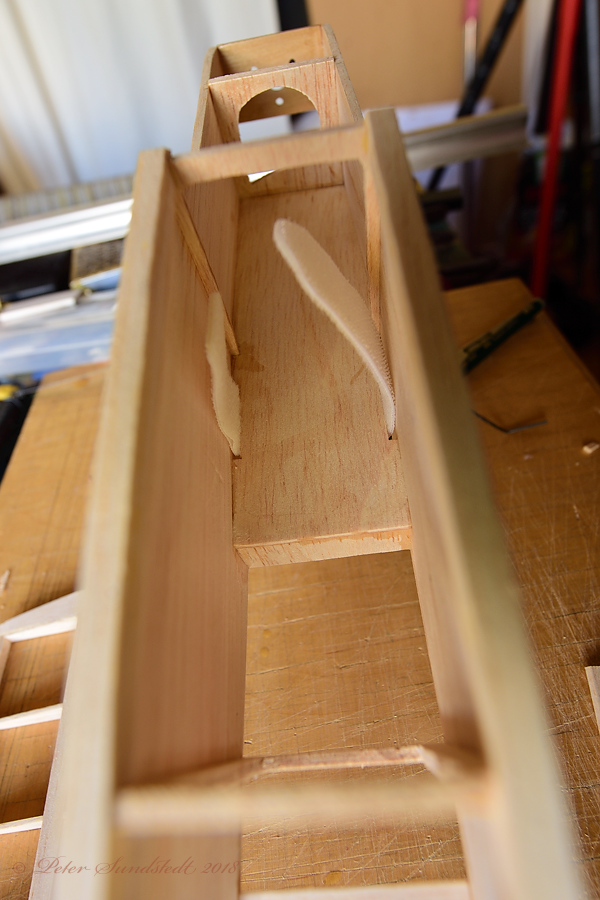
The fuselage is taking shape.
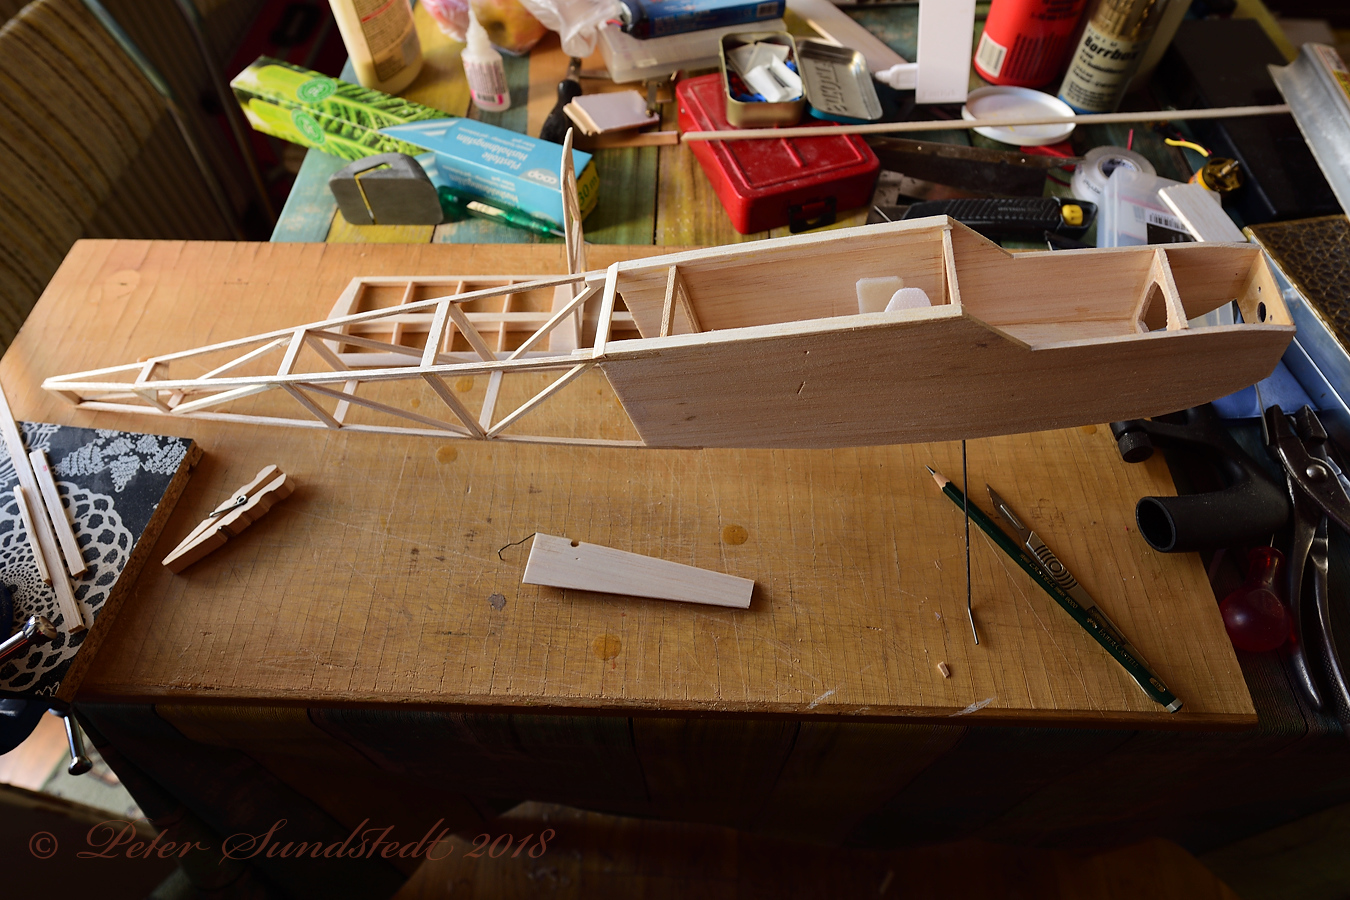 PES_2018-08-13_17-56-22_14mm_ by merco_61, on Flickr
I couldn't resist this as I had the UWA out...
 PES_2018-08-13_17-56-38_14mm_ by merco_61, on Flickr
The battery mount.
 PES_2018-08-13_17-57-17_14mm_A by merco_61, on Flickr
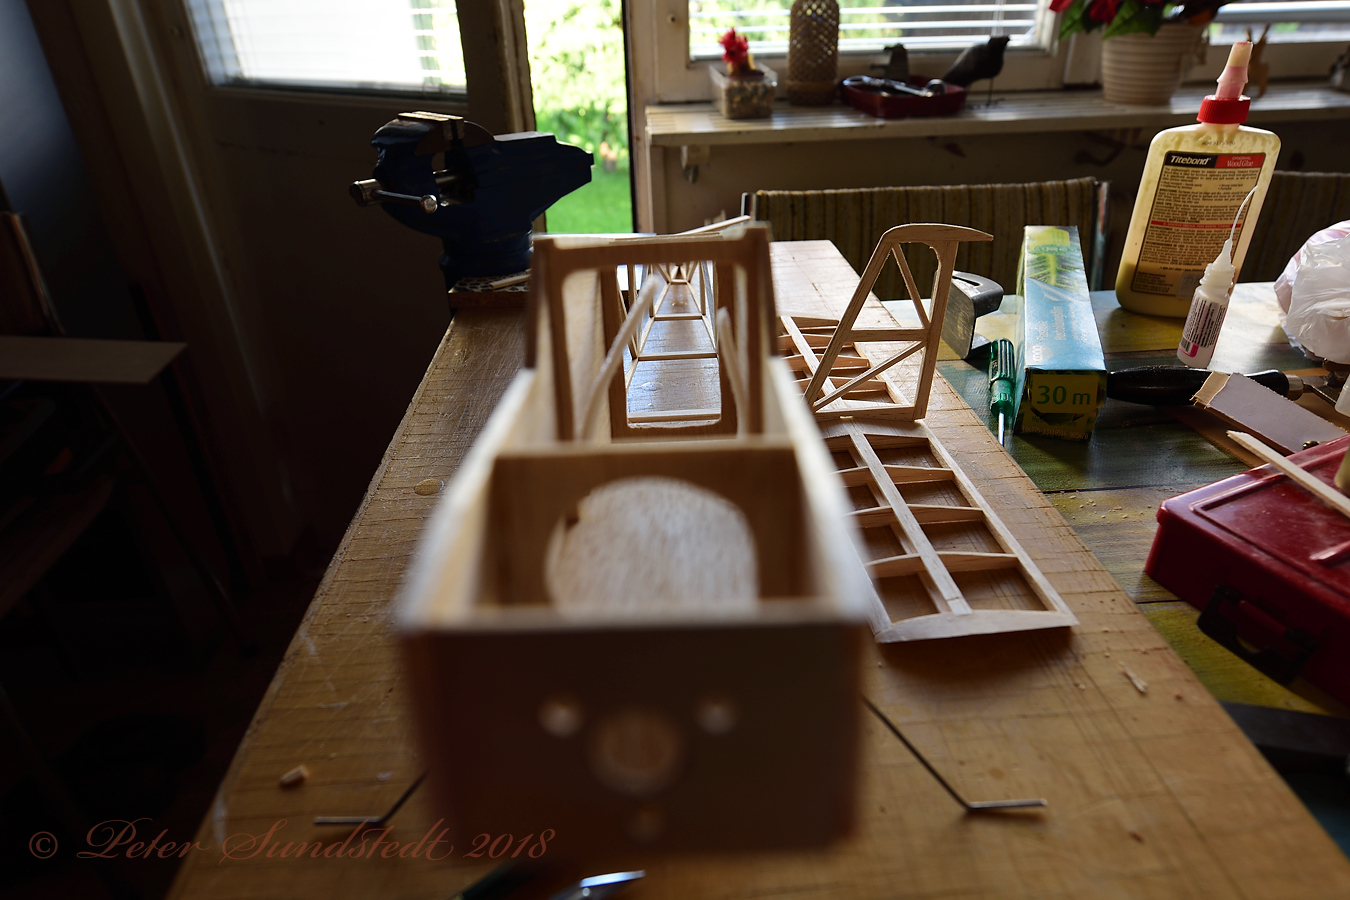
Still some diagonal bracing missing.
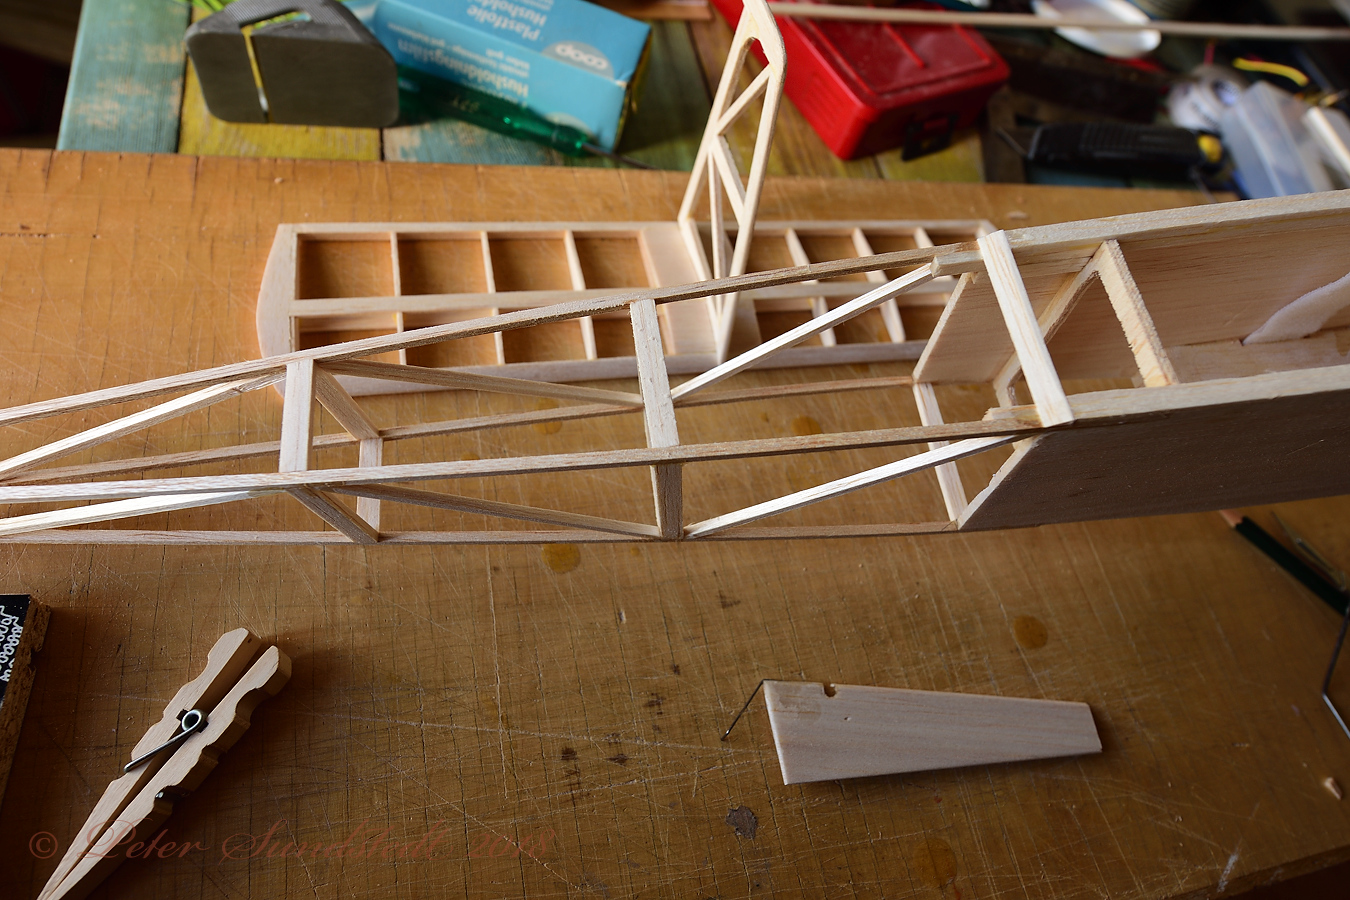 PES_2018-08-13_17-57-31_14mm_ by merco_61, on Flickr
The battery mount from below.
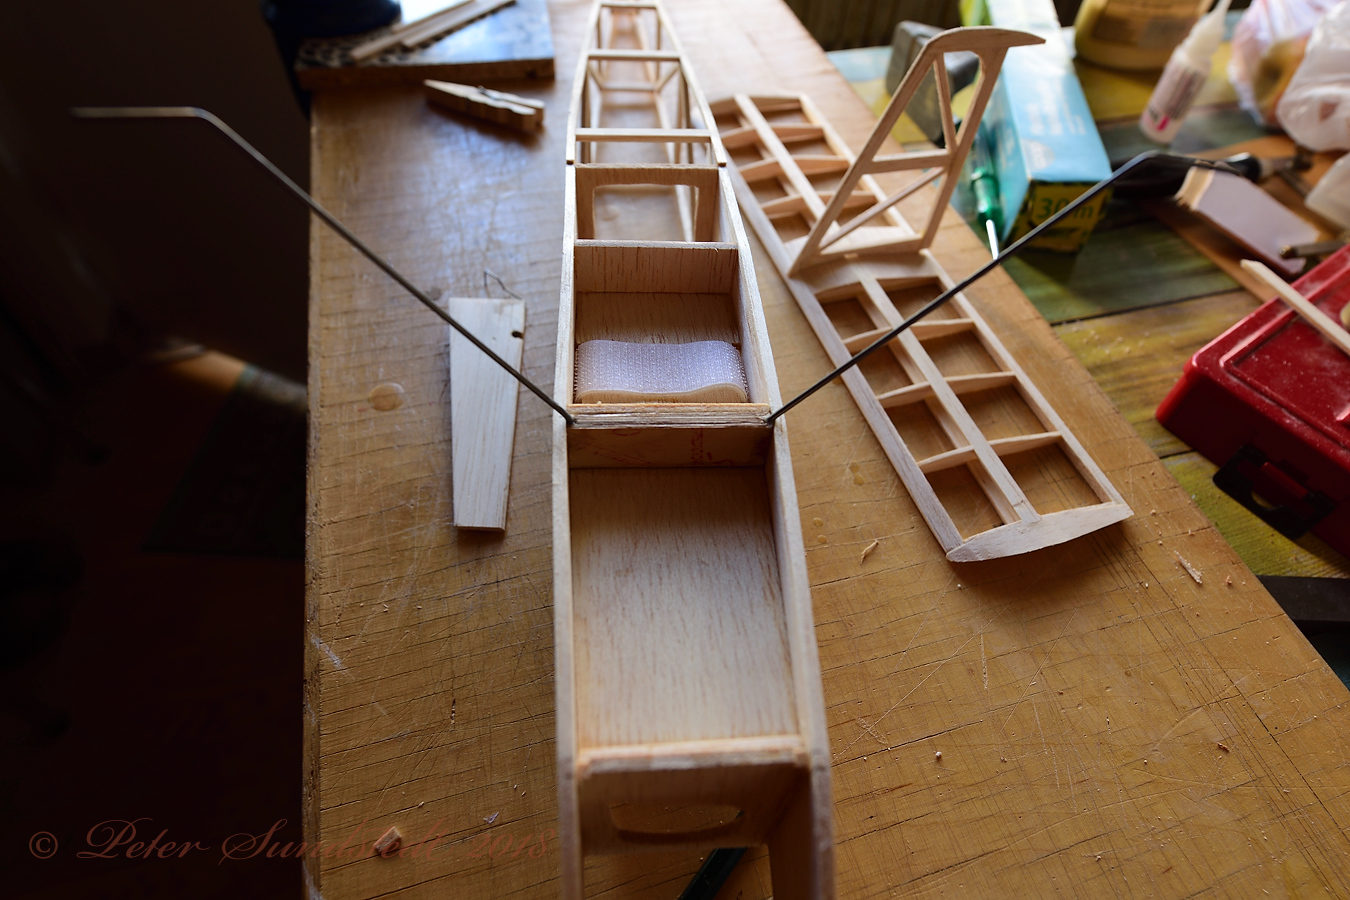 PES_2018-08-13_17-58-01_14mm_A by merco_61, on Flickr
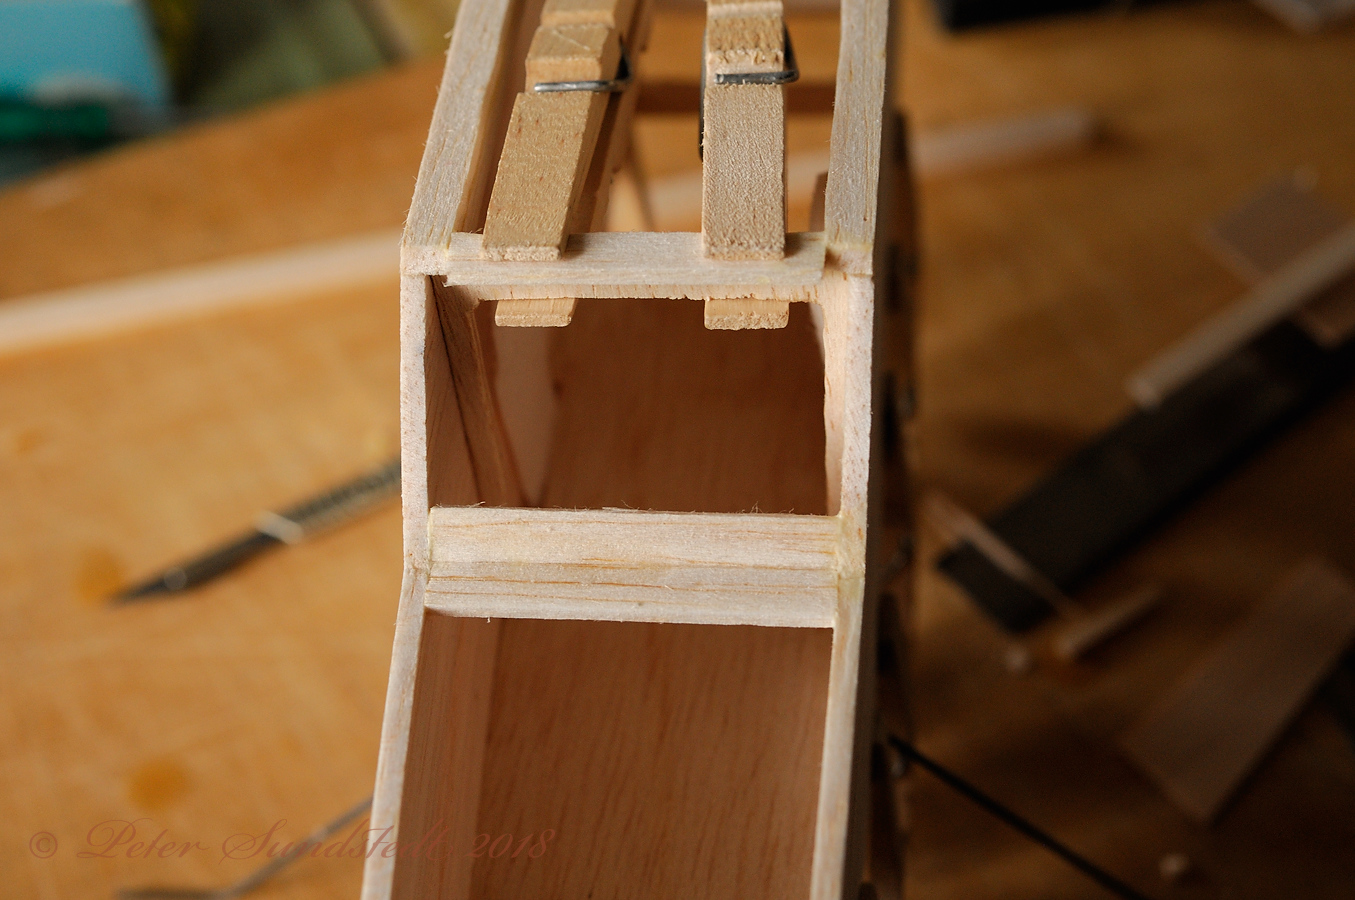
Some support structure for the sheeting on top and bottom of the front box. Plenty of clothespins to hold the parts as the glue dries.
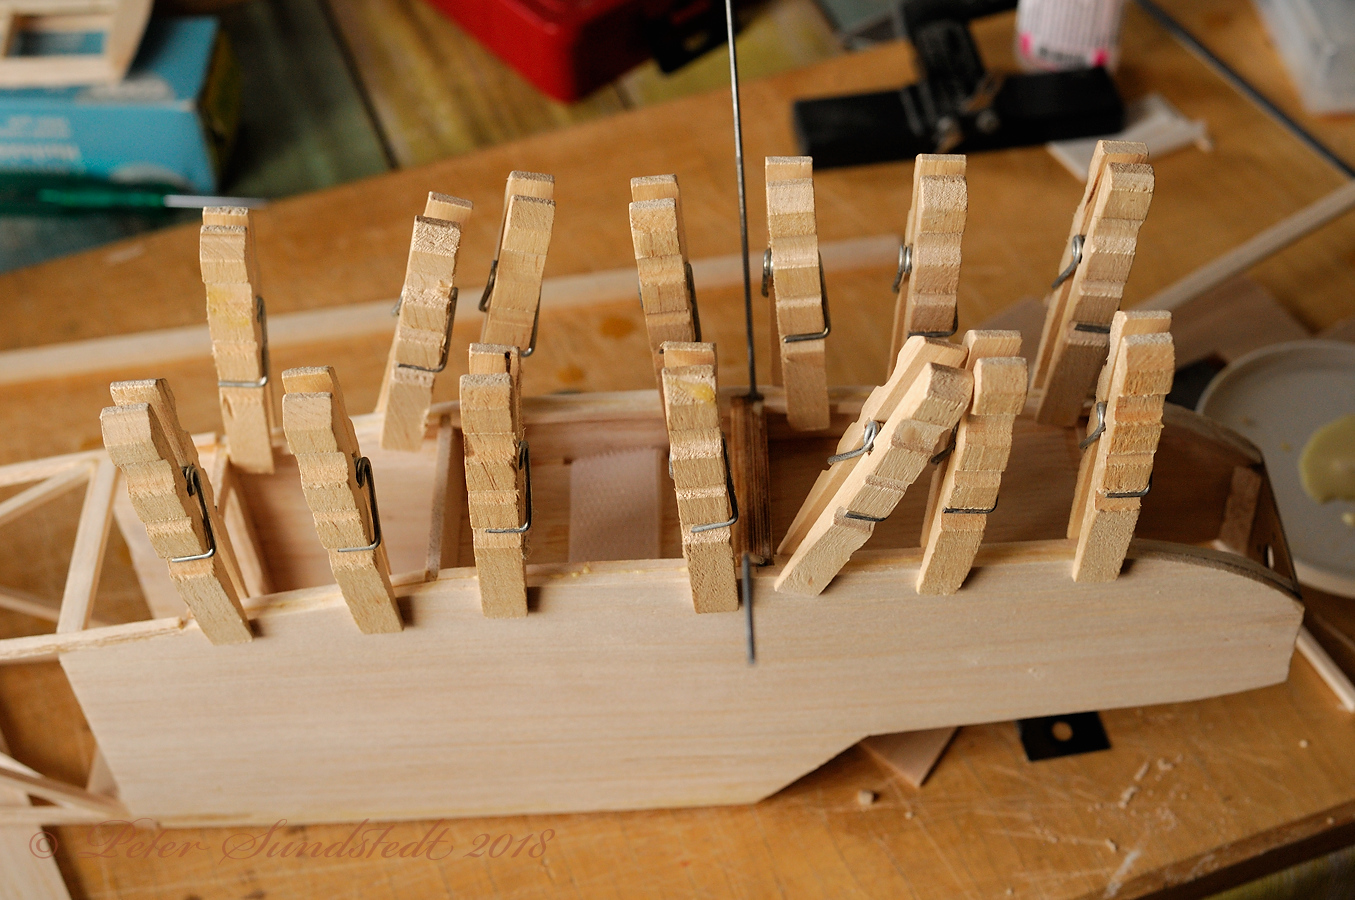 PES_2018-08-15_17-48-55_35mm_ by merco_61, on Flickr
 PES_2018-08-15_17-49-44_35mm_ by merco_61, on Flickr
Framing up the wings.
PES_2018-07-27_16-02-17_24mm_ by merco_61, on FlickrWhen returning to a hobby after many years, some upgrades and service work is to be expected.
The battery tray is modified to mount the new battery securely. The old cells are in front of the transmitter on the table.
PES_2018-08-03_11-21-24_105mm_ by merco_61, on FlickrThe power wiring is redone to make it easier to disconnect the battery and charge it outside the transmitter. The yellow connector was added to be able to use a standard 2-cell flight pack.
PES_2018-08-03_11-22-22_105mm_ by merco_61, on FlickrI have added some switches over the years. As I had the transmitter open for he power mods, I cleaned up the wiring mess caused by temporary changes becoming permanent. The thin wires were most of them under the lid here, but some were just taped on top of the plate.
PES_2018-08-03_11-23-33_105mm_ by merco_61, on FlickrHere is a shot of the transmitter as it looks when in use. I use long sticks held between thumb and index fingers rather than just the thumb to steer.
PES_2018-08-03_11-26-25_105mm_ by merco_61, on FlickrThere is a lot of electronics to go into such a small plane. 6 servos, a speed controller, a 7-channel receiver, a switching battery elimination circuit as the 6 servos pull too much current for the circuits in the speed controller, a battery and a motor.
PES_2018-08-03_11-33-36_105mm_ by merco_61, on FlickrThe wing is nearly finished. The servos need a bit of wiring as there are 4 of them in the wing.
PES_2018-08-03_11-34-39_105mm_ by merco_61, on FlickrStriped wires for signal, solid for current.
PES_2018-08-03_11-35-23_105mm_ by merco_61, on FlickrHoerner tips of the droopy kind are being carved from balsa block.
PES_2018-08-03_14-54-29_105mm_ by merco_61, on FlickrThe tips are glued on and shaped. I have only used a knife so far, no files or sandpaper.
PES_2018-08-04_14-33-26_105mm_ by merco_61, on FlickrPES_2018-08-04_14-35-03_105mm_ by merco_61, on FlickrPES_2018-08-04_14-37-00_105mm_ by merco_61, on FlickrSome fiddly work with a soldering iron today... The contact block is 15.9X6.9 mm and there are 6 pins and 8 cables. This is for the connection to the wing servos.
PES_2018-08-05_19-30-38_105mm_ by merco_61, on FlickrPES_2018-08-05_19-34-25_105mm_ by merco_61, on FlickrThe rest of the day was spent in redesigning the fuselage to fit a modern motor and battery and designing a mount for the landing gear.
Stabilizer today.
PES_2018-08-06_17-21-33_24mm_ by merco_61, on FlickrThe beginnings of a fuselage.
PES_2018-08-07_15-18-20_24mm_ by merco_61, on FlickrFin.
PES_2018-08-07_15-19-14_24mm_ by merco_61, on FlickrStabilizer tips.
PES_2018-08-07_15-19-35_24mm_ by merco_61, on FlickrFuselage sides are usually made on top of each other, so they are as perfect mirrors of each other as possible.
PES_2018-08-08_13-51-24_24mm_ by merco_61, on FlickrI use lots of pieces of scrap wood to avoid sticking pins through longerons.
PES_2018-08-08_13-51-43_24mm_ by merco_61, on FlickrThe longerons get lots of glue area where they attach to the sheet front of the fuselage.
PES_2018-08-08_13-51-57_24mm_ by merco_61, on FlickrThe landing gear mount is starting to take shape. It is made from 3 birch plywood parts, 2 of them are glued together here.
PES_2018-08-11_17-32-21_55mm_ by merco_61, on FlickrThe finished gear mount and the landing gear itself.
PES_2018-08-11_17-36-52_55mm_ by merco_61, on FlickrThe landing gear is now epoxied in the mount. The frames have their outside dimensions, time to use the drill press and fretsaw to remove as much as possible without weakening the structure.
PES_2018-08-11_17-48-04_55mm_ by merco_61, on FlickrThe finished frames, time to start building the fuselage.
PES_2018-08-12_15-14-47_55mm_ by merco_61, on FlickrThe fuselage is taking shape.
PES_2018-08-13_17-56-22_14mm_ by merco_61, on FlickrI couldn't resist this as I had the UWA out...
PES_2018-08-13_17-56-38_14mm_ by merco_61, on FlickrThe battery mount.
PES_2018-08-13_17-57-17_14mm_A by merco_61, on FlickrStill some diagonal bracing missing.
PES_2018-08-13_17-57-31_14mm_ by merco_61, on FlickrThe battery mount from below.
PES_2018-08-13_17-58-01_14mm_A by merco_61, on FlickrSome support structure for the sheeting on top and bottom of the front box. Plenty of clothespins to hold the parts as the glue dries.
PES_2018-08-15_17-48-55_35mm_ by merco_61, on FlickrPES_2018-08-15_17-49-44_35mm_ by merco_61, on Flickr
- nbanjogal likes this


This is so cool!!! Thanks for showing us all the work going on behind the scenes. I'll look forward to seeing some images of the finished product. I'd love to see some of the plane in action, but I imagine you'll be too busy flying to photograph it! xD
So roughly how long does it take to build, from start to finish?